Coating and Assembly
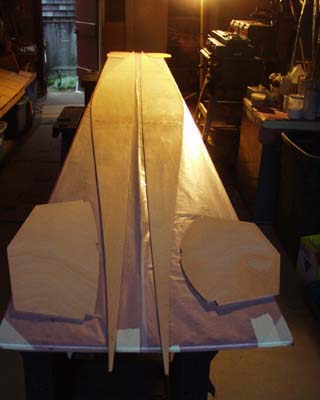
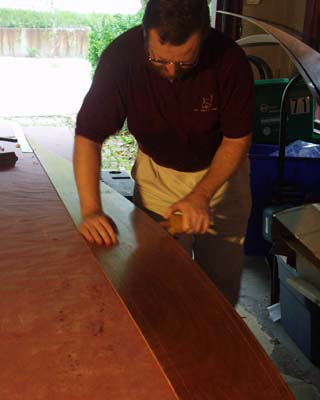
The manual suggests that if you want to see a boat quickly you can epoxy coat the insides of panels once the boat is assembled. Well you CAN if you want to do twice the work (to be fair to the manual it also suggests coating before assembly). When the boat is assembled coating is difficult to achieve neatly and evenly. With the panels laid flat on a table you can mix coat and roll out the panels shown above in just 15 minutes.
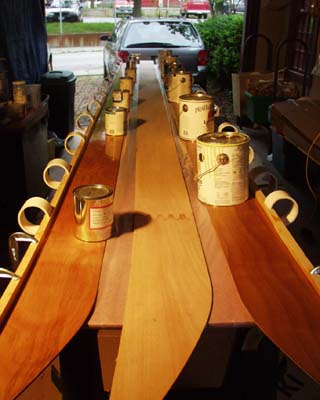
Gluing the sheer clamps onto the coated side panels. With all panels made up we could remove and dispense with the edge on the table and could get one down either side of the table and so do two in one session. The hardened epoxy coating MUST be scuffed up with 60 grit paper just before gluing. In addition to providing a keyed surface the roughing up of the epoxy breaks bonds in the epoxy film which creates free epoxy molecules which the thickened epoxy can chemically bond to.
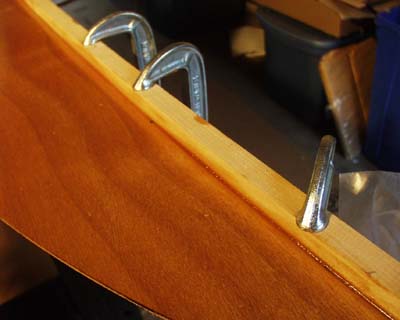
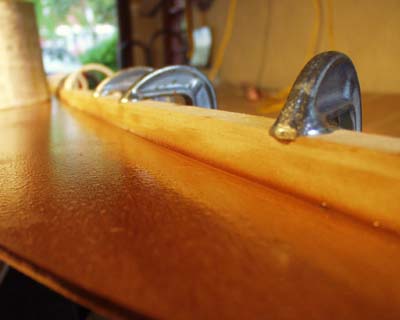
As the manual suggests - pulling and HOLDING the sheer clamp onto the curved part of the side panel requires more than the plastic pipe clamps. We bought 6 cheap metal clamps for this. Padding to protect the sheer clamp from the clamp actually makes it harder to pull the curve as the pads allow the clamp to slip around under them. We let the clamp bite into the clamp slightly so it could grip. However on the underside where the clamps contact the finish face of the ply MUST be protected with a wood block.

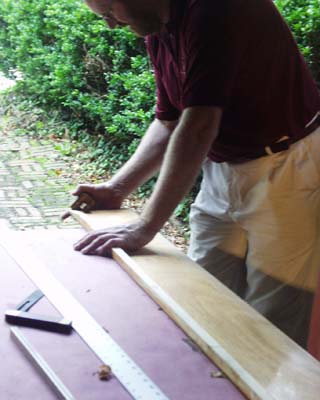
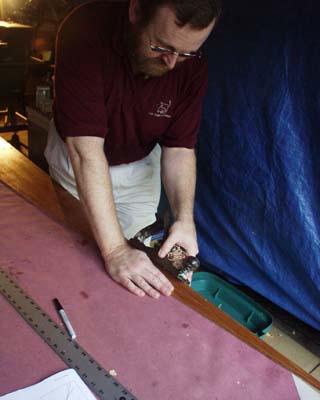
Cutting the side panels to length. Measure TWICE - cut once. The straight edge is clamped to the side panels to make a cutting jig. We then ran the jigsaw down the edge and clean cut both side panels, similtaneously getting both exactly the same length.
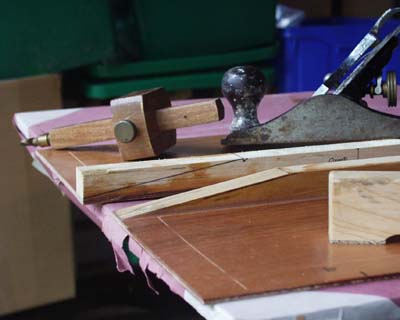
Marking up and planing the end bevels on the sheer clamp.
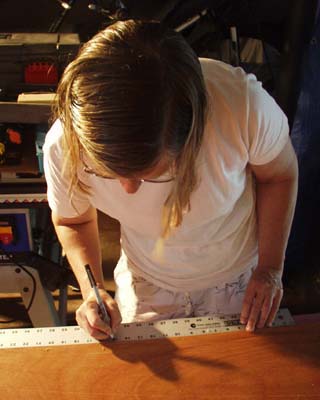
Using a marking gauge to lightly scratch the 3/16" line for drilling stitching holes.
A second pass at 1" marks the edge of where the 2" glass tapes will bridge the seams when assembled.
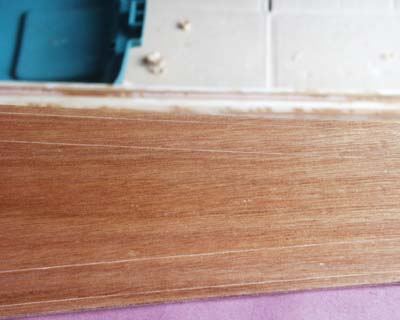
Bottom panels (and not shown side panels) - very light pass with a plane puts on the recommended 45 degree bevel to help the panels sit correctly as they are wired together.
Scribes and bevels
Marking 8" centers on the 3/16" scribe line
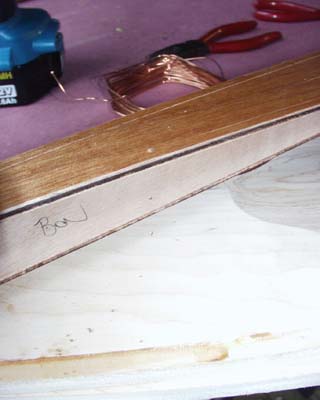
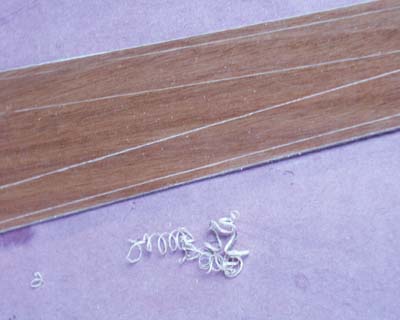
It is easy to get the bow and stern mixed up and there ARE very slight and VERY important differences. Writing "bow" on the correct end avoids any confusion later on! Put it on the inside where it will not be seen later. Look at the copper wire provided by Roy Folland (in the shot above). There is a reason it was wrapped around a square block which is not mentioned in the manual. Cut across the corners of the square and you get wire stitches the correct length.
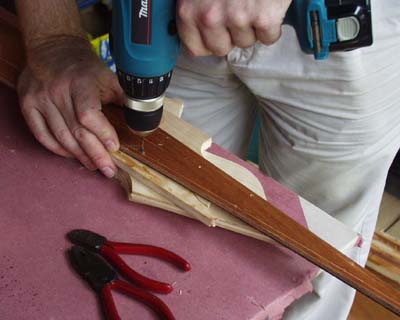
Drilling the stitching holes. Clamp matching panels together epoxy out on both sides. drill through into a supporting block of scrap wood.
In this shot we have deliberately opened up the panels - "mid drill" to illustrate - By drilling INTO the epoxy coating the ply fibres do not shred or burst. The dry uncoated plys that are back to back prevent splintering or bursting because they are firmly clamped together and the breakout is into an epoxy coated side which helps hold the fibres together and backed by a piece of scrap wood. Other advantages to be had from drilling both panels together include cutting down on processing time and making the tensions in both sides of the boat equal as you pull the stitches up - which gives a fairer and more even/equal hull.
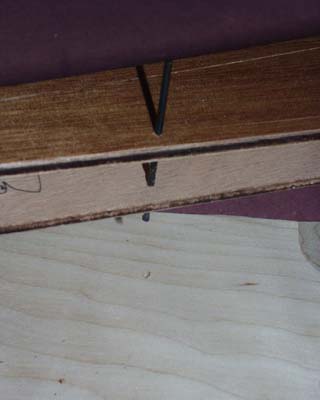
A single stitch used to keep everything in alignment while the rest of the holes are drilled. It is later taken out when the panels are flipped epoxy coat to face epoxy coat and.....
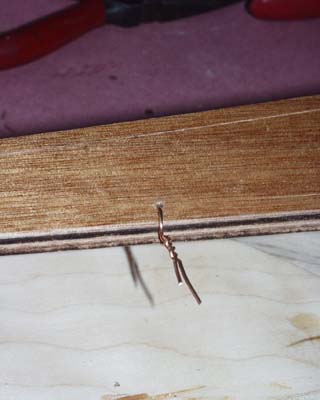
....the edge of the bottom panel is stitched together....
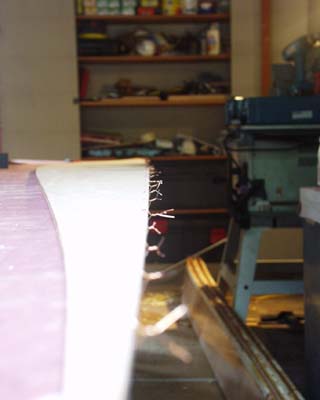
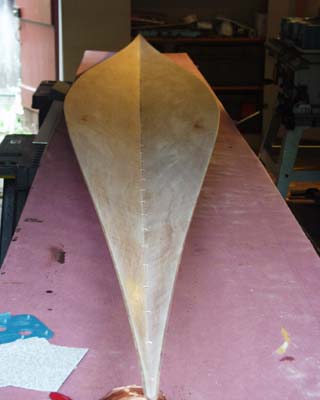
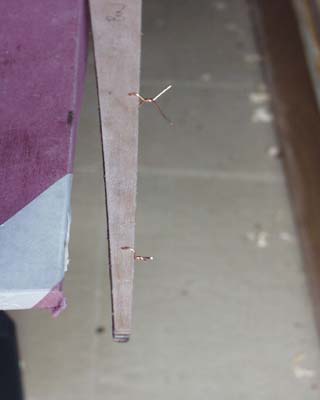
Then the panels are opened and.....
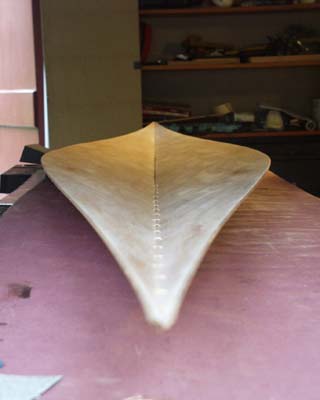
....the bottom of the boat appears and develops.
|