We borrowed a friend's pool and took the boats (and the cat) along to see how they would work.
The boats are sitting in the Volkswagen brand kayak pads - soft thick rubber that conforms to the hull shapes.
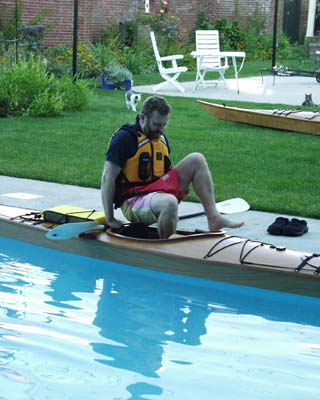
Boats were set up with fully clamped hatches, and lucky me got to put on the skirt and PFD.
I also rigged a paddle float in the aft deck lines.
You have to plan for the worst. Don't count on your roll (and after LOTS of years I am not counting on mine!)
Self rescue over the transom "cowboy" style was always problematic and with rudders seems a way to wilfully damage yourself (!)
Paddle Floats are a new idea (since I last seriously paddled). I've done a lot of dinghy sailing and it is clear to me that you spend as LITTLE time in the water as possible.
Hanging around to inflate a float over your paddle while gasping in cold water seems like a lousy idea and I went with the foam block variety.
First we launched the Sea Wolf and checked for trim.
I was worried that the foot pump forward on its substantial platform was going to make the boat bow heavy. But the boat was near level. Not enough to tell it had made a difference.
After a spell to check for leaks I took the Sea Wolf out and.....
....then we tried the Sea Lion - SMART BOAT!
WHAT FOLLOWS IN NOT
A SUBSTITUTE FOR INSTRUCTION
So as not to beat up the new paddles I'm using the emergency spare.
If you have never done this before - this is a way to avoid a swim at the start of the day - clamping it across the back edge of the cockpit with my right hand and keeping my weight shoreside over the left blade.
Then you can slip in and get settled before.....
.......making up the spray skirt to seal the boat.......
.....and pushing off.
Although I did it ashore before launching - I spent a bit of time adjusting the foot braces and back band to get braced inside the boat with my knees up under the deck. It always feels a little different on the water.
If the boat fits you should be comfortable wiggling your hips and slapping the chines back and forth.
This showed the boat had an initial slight lean either way but firmed up considerably as the chines bit into the water.
"I CAN'T believe you've spent all those weeks in the garage for this!
WATER!!
These are for Water?
Miaow!"
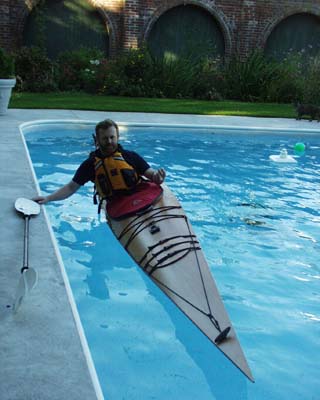
With no way on to give dynamic stability or a possibility of a brace the boat is going to tip over about here.....
Hard to see in this photo but the deck edge is underwater and the rim of the cockpit and skirt are wet.
I haven't fitted hip pads at this point and the situation will improve with them.
I also did some slapping and sculling for support (sorry no photos) before.......
.......letting the boat roll over. Here I am slapping the hull to attract attention in the slight hope of an Eskimo (assisted by fellow paddler) rescue.
Of course as there was no other paddler in the pool.....
I spent a short time looking around and holding firm in the boat with my knees.
Then......
...pull the skirt tab and slip out the boat like pushing down a pair of shorts.
Surface and grab the boat. Lifelines around the boat deck allow you to grab it anywhere and work your way to the cockpit.
The paddle has drifted off a substantial distance relative to starting the rescue. In a sea with wind this could be deadly.
If you paddle alone or in a low skill group who might have trouble getting the paddle back to you - you just got a big pointer about going out and buying a paddle leash.
I rolled the boat up. With no gear in the tanks and no sea to complicate the situation the boat came up relatively dry.
The seat foam is under water.
The water is up to the edge of the seam tape - so call it an inch deep at the edge of the hull.
The hull was trimming level fore and aft.
It felt pretty buoyant.
It took only a moment to slip the foam block over the paddle, to tighten the security line and to start to slip the other blade under the deck lines.
I've also read of a method where you clamp the paddle to the cockpit rim with your hand (like at the top of this page for getting into the boat) as you vault into the boat. I decided to leave that till next time! I did want to test the deck lines with this method.
Most pictures of a paddle float rescue show you coming from aft of the paddle. I've also read of different variants of the scheme.
As I previously stated - I used to dinghy sail and keeping moving and reducing immersion time are key to a quick successful recovery there.
So I tried it my way here.
I was headed for the cockpit as fast as possible!
Here I have boosted myself over the cockpit and am aiming my feet for the paddle.
I want to get my weight over the boat to carry me while still using the paddle as an outrigger.....
I'm pressing down on that paddle shaft hard during the boost out the water. The deck lines are stretched but none of the hardware even creaked (thank goodness).
Boosted over the boat like so - this is very stable. Most of my weight is now carried by the boat.
Steady up and sit on the paddle while keeping weight towards the float.
This is now like getting into the boat at the beach. Something you do regularly and so has a high chance of success.
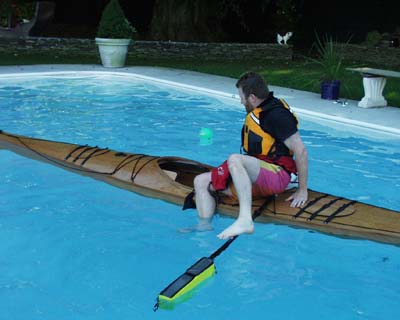
Slipping in and beginning to balance the boat as I do.
The boat stability is affected by the free surface effect of the water sloshing around inside.
Like the initial stability lean noted when the boat is dry only more pronounced - but the boat is still more stable than many I have been in this situation in.
Even if you get your skirt secured immediately and a hand pump slipped down inside your skirt you don't have hands to brace or slap for support when pumping.
This is where internal pumping pays. I'm already pumping with my foot as I sit down and able to use hands and paddle to stay upright.
Securing skirt against further water ingress and still pumping.
The paddle float is still rigged but as I secure the skirt I am about to reach for the paddle......
Slip the float off (still pumping) and....
....brace, slap (as necessary) for support and paddle away (still pumping).
The boat cleared in about 100 pumps leaving about a half inch in the back of the cockpit for sponging out if conditions permit.
Yes if you look carefully - this sequence is a composite of more than one practice but it did work first time quite well and subsequent attempts were to prove it was no fluke and that this could be done - but I would hate to do it in a sea though it should be possible. Next week I need to see if I can get back in the swing of rolling!
I have no affiliation with Roy Folland Kayaks other than I bought and built their kits. Views expressed on this site are mine alone and may not reflect the views of Roy Folland Kayaks. Views expressed on this site follow many "normal" boat building practices but do not constitute the sole safe method of carrying out tasks or subsequent end use of the kayaks. The information is offered in return for the many views and opinions freely offered by so many others who have published on the Internet. Your decision to use ideas from this site must be yours alone - based on balanced judgement and comprehensive research of standards and building practices. I cannot be liable in any way for any accident or injury you suffer through building a kayak or taking part in the sport of kayaking - whether you followed advice from this site or not. Your use of this site constitutes your acceptance of the foregoing.
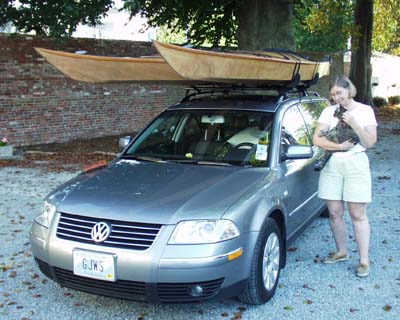 We borrowed a friend's pool and took the boats (and the cat) along to see how they would work.
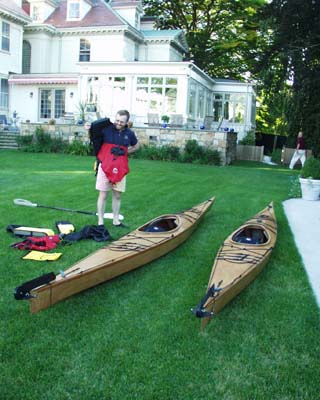 Boats were set up with fully clamped hatches, and lucky me got to put on the skirt and PFD.
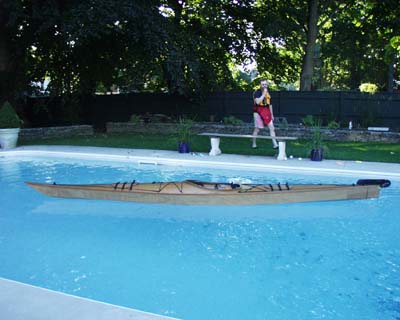 First we launched the Sea Wolf and checked for trim.
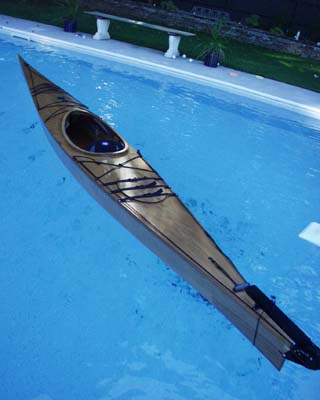
 .......making up the spray skirt to seal the boat.......
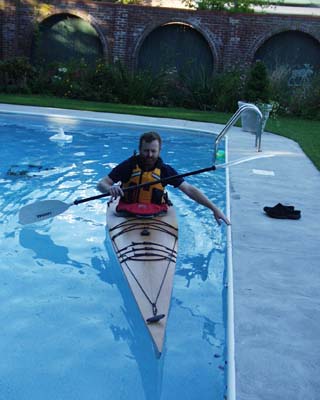 .....and pushing off.
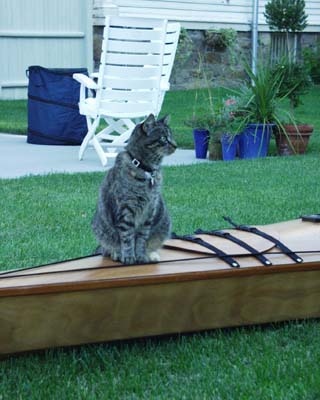
 With no way on to give dynamic stability or a possibility of a brace the boat is going to tip over about here.....
 .......letting the boat roll over. Here I am slapping the hull to attract attention in the slight hope of an Eskimo (assisted by fellow paddler) rescue.
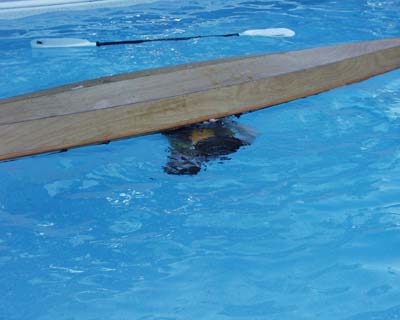 ...pull the skirt tab and slip out the boat like pushing down a pair of shorts.
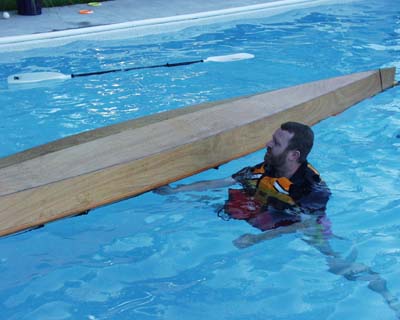 Surface and grab the boat. Lifelines around the boat deck allow you to grab it anywhere and work your way to the cockpit.
 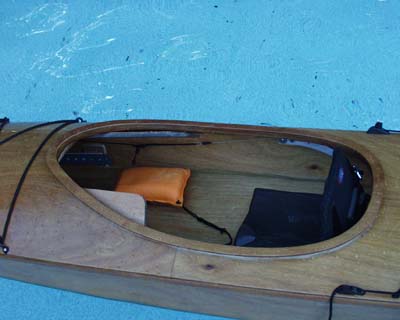 I rolled the boat up. With no gear in the tanks and no sea to complicate the situation the boat came up relatively dry.
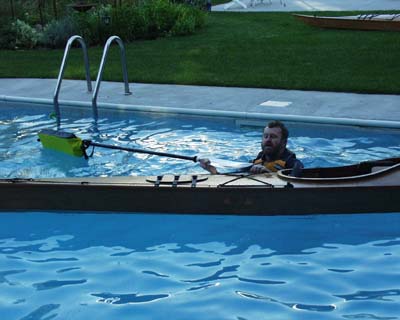 It took only a moment to slip the foam block over the paddle, to tighten the security line and to start to slip the other blade under the deck lines.
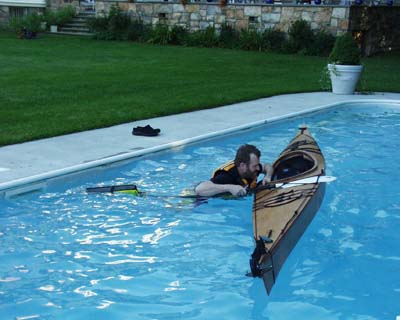 Most pictures of a paddle float rescue show you coming from aft of the paddle. I've also read of different variants of the scheme.
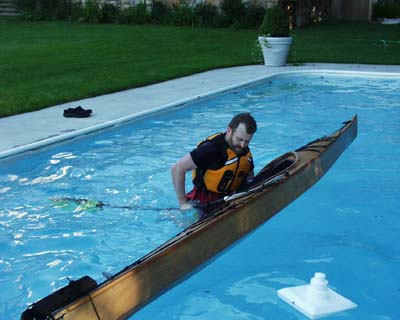 Here I have boosted myself over the cockpit and am aiming my feet for the paddle.
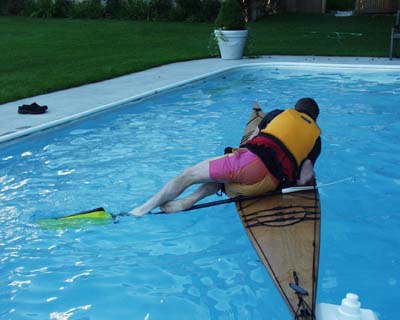
 Steady up and sit on the paddle while keeping weight towards the float.
 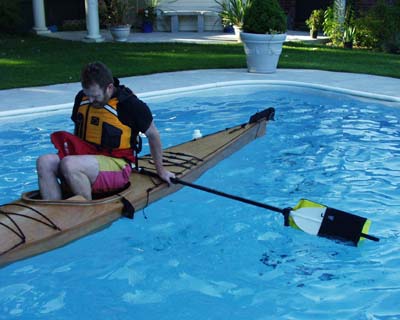 Slipping in and beginning to balance the boat as I do.
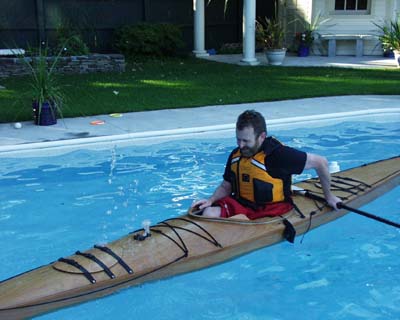 The boat stability is affected by the free surface effect of the water sloshing around inside.
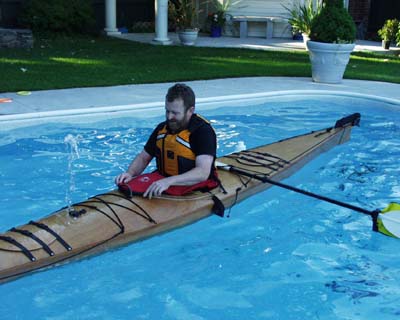 Securing skirt against further water ingress and still pumping.
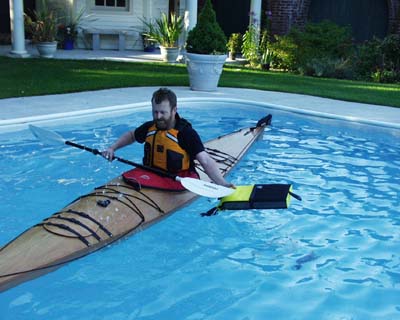 Slip the float off (still pumping) and....
 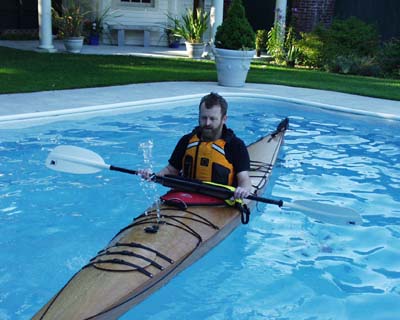 ....brace, slap (as necessary) for support and paddle away (still pumping).