Do you need a workshop or can you do it in a garage?
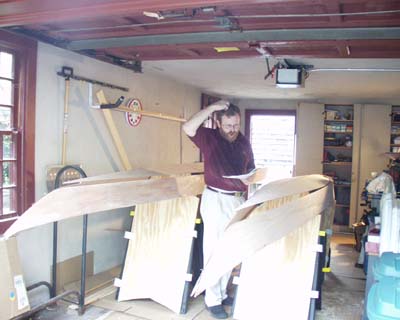
Well we did it in a garage and we did TWO boats side by side in one bay. Admittedly we were lucky with weather and could move parts outside for sanding but we could have still processed the boats in the enclosed space if we had to. The key was slightly re-ordering the build sequence and the use of a portable gluing table which we progressively cut up to make building jigs and then cut up again to make the storage racks on the wall.

First we vacuumed the floor and hung a divider tarpaulin (blue on right) to seperate our mess from the other bay. A small glue table (gray metal file cabinet) was covered with rosin paper to aid in spill clean up. Kits were unpacked and all parts stowed in the closets on the back wall. The floor was covered with cardboard - the kit cartons are a good start to keep it clean. (However - see comments on fire safety in the Shop Safety section). Two ladder hooks were hung on the wall (left) to hold parts as processed. The item that looks like a clock behind them is the thermometer. We did take advantage of an adjacent room to store large parts prior to processing. If we had not had the room we would have put a second rack on the left wall and worked processed parts over unprocessed.
Next we built a glue table (see below) from one sheet of 3/4" good one side sheathing ply and some 3" x 1" pine. This was set up on 4 saw horses and levelled.
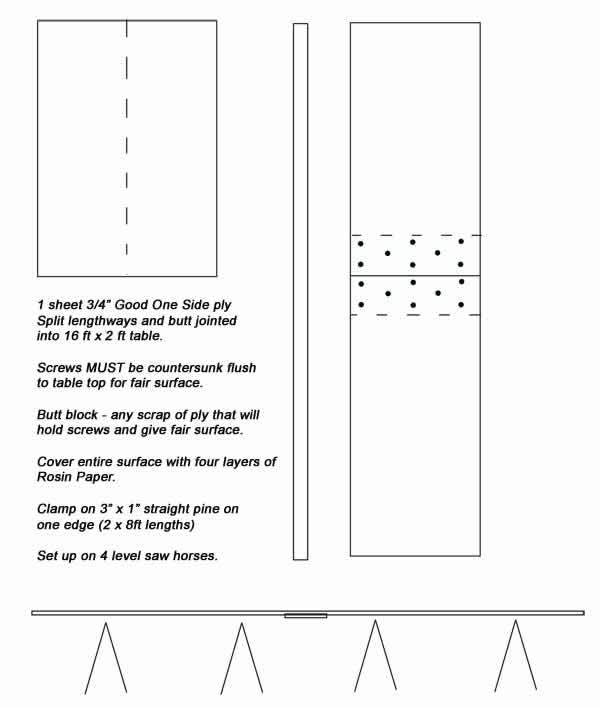
Yes parts of the kit ARE longer than 16ft but no joints are more than 14ft apart on the longest parts and by sliding back and forth we were able to make do and not have to cut into another sheet of ply.
We did not use the sheer clamps as the edge of the glue table - which is what is suggested in the build manual. I wanted to keep them as clean as possible and I also wanted a more robust edge to clamp against if necessary. We set up the 3" x 1" pine edge with the help of a laser and a square set on edge to sight the laser down the table. You CAN use a chalk string as suggested in the build manual we just happened to have a laser handy!
This is a first opportunity to practice with the "C" clamp made from PVC pipe.
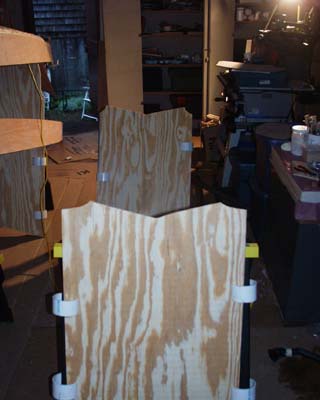
After we had made full use of the glue table and had no further work that could be carried out on it we broke it down sliced it into 4 pieces of approx 2 ft x 4ft and by using the bulkheads as templates made one end an "outy" and the other an "inny" of each bulkhead profile. We MARKED UP AND RETAINED THE CUT OUTS for later (see last step).
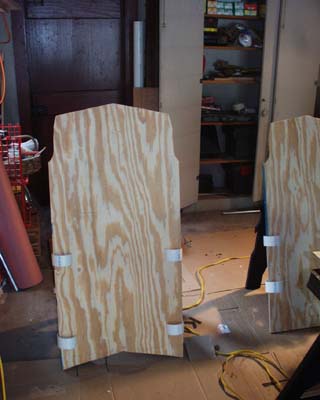
These were then set up on each saw horse and immediately acquired the name "the tombstones". These created a jig on which the side panels and bottoms could be "placed" and the parts wired together.
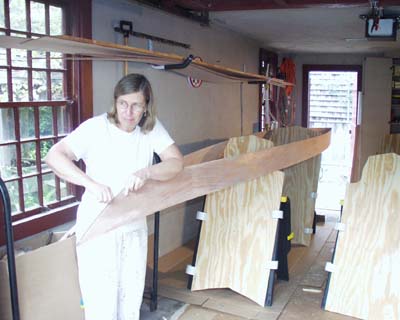
Later the tombstones were end for ended and the edges were lined with split pipe insulation foam to hold the boats upright at their bulkhead positions.
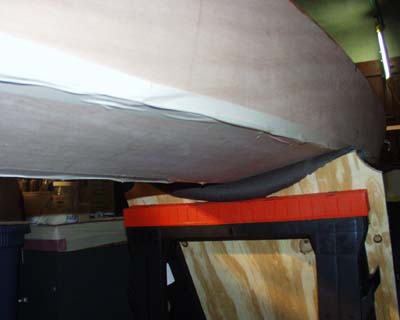
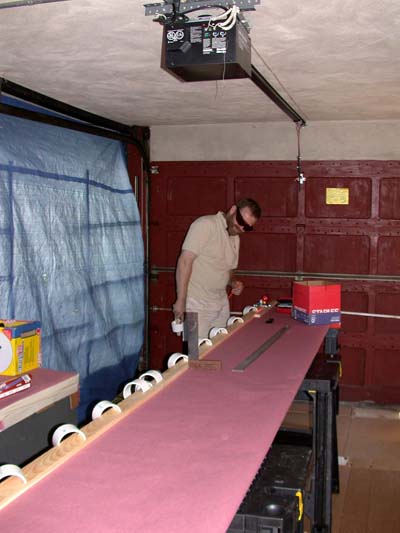
We found we did not need to set up hanging jigs to eliminate twist during the build (though we had planned on using the 3" x 1" pine we had used as the edge of the glue table for this). Accurate building meant the boats were basically straight with no twist and the slight straightening we needed to impart could be achieved by twisting the boats in their stands. The friction of the pipe insulation edges against the bare wood was enough to hold the boats while we sighted down the straight edges and then glued them (wide angle lens distortion makes this picture look a bit skewed! But it was level!)
By carefully moving a boat to the side and centering the other boat in the remaining space we could both work down either side of a boat. Then we would set that boat to the side and center the other boat to process it. It was tight for space but we could do it and get both boats built in one bay. It was VITAL we vacuumed up after every session to keep things in order but this only improves the finish you achieve so it was worth the effort.
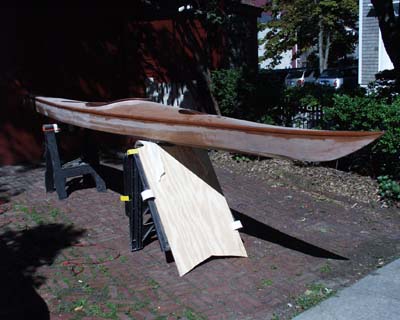
When needed the stands could be taken outside and the boats set up for messy sanding.
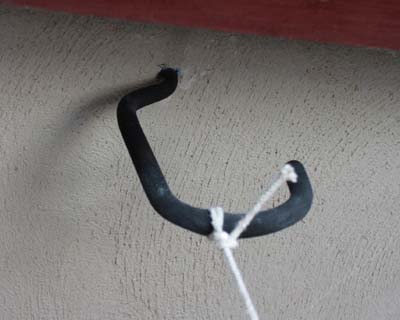
When all possible processes the stands could be used for had taken place and the boats were sanded for varnishing we fitted hooks to the roof of the garage - spaced at the hatch aperture openings.
We then vacuumed the shop twice - covering EVERY surface with a soft brush nozzle (including the outside of the opening garage door which will be inside during varnishing and will impart a dust cloud when in motion getting shut). Then we changed into clean dust free clothing and misted down the garage with a water mister to settle any remaining dust.
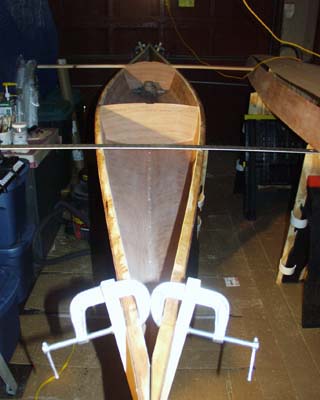
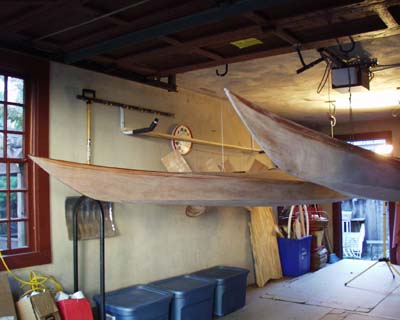
We then fitted short lengths of wood inside the hatches in a temporary cruciform and suspended the boats at work height for varnishing. The tombstones were retained for when we wanted to fit out the hulls after varnishing. The hulls hang absolutely free and if you steady a boat with your fingertips you can retain a wet edge over the whole boat without having to pause while varnishing.
After fitting out the hulls were briefly stowed on the car rack while we made the storage racks. We battened the wall of the garage with the 3" x 1" and then cut profiles of the hull shapes into the tombstones which were screwed to the battens.
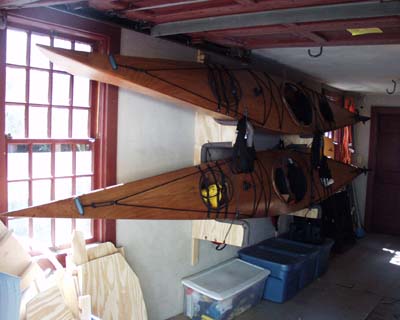
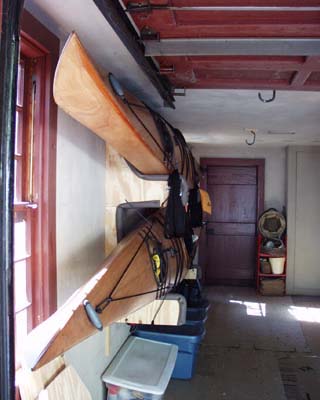
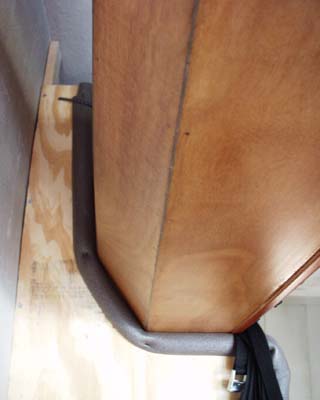
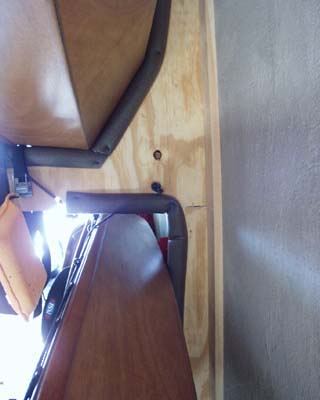
The profiles were developed from the cut outs retained from the original making of the tombstones (see further up page) . The boats were inclined slightly backwards to keep them in the stow. Shockcord hold downs make sure the boats cannot jump out of the storage. We lined the edges with split pipe insulation. Hooks were fitted for hanging spray decks and accessories to dry.

Top of Page