Stiching and taping

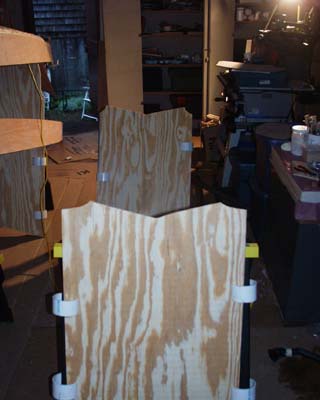
This part is not in the build manual. We dismantled our glue table and cut it up (see Setting up Shop). Then using each of the bulkheads (a bow bulkhead shown here) we made up profile jigs which we set up on saw horses at approx bulkhead positions. (No I don't remember what Alex had just found so funny).
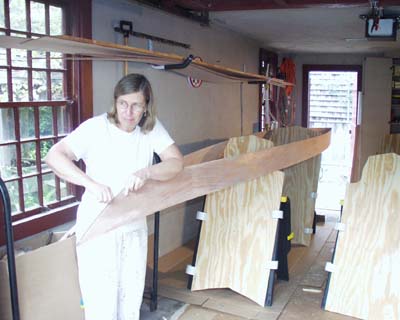
Then we stitched the bows and sterns together and sprung them over the jig

...a little masking tape temporarily holds them.

Then we sat the previously stitched together bottom panels in place.

a VERY light scribe at 3/16". Too heavy and it will not sand out and will show through the varnish...

Now using a block of wood to back the ply and prevent bursting the skin on drill through (the inner face has a coat of epoxy which helps too)...

...we drilled and stitched our way down the boat. One of us sat on the inside on the floor helping with the backing block and passing the stitches through to the person on the outside - who was drilling the holes and twisting the wires lightly.

Once done the boat was stitched up and we progressivly tightened the stitches and joggled the edges on their 45 degree bevels till we had a tight and fair boat.
We then flipped the jigs over and used the other ends which had been profiled from the bulkheads.
Before flipping over we masked the seams to reduce the amount of epoxy that would drip through to the floor.
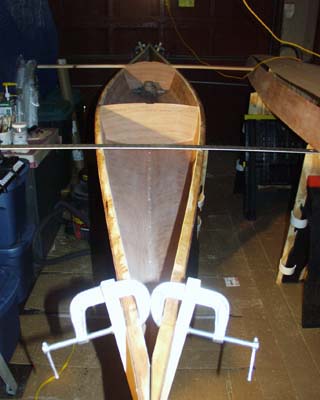
Bulkheads placed and sheer clamps fitted bow and stern we checked the boats for twist (this boat IS straight - the wide angle lens has distorted the straight edges!!). We found that sitting in the jigs gave us enough friction to twist the boats to level instead of hanging them in the jigs the build manual details. The time spent making even holes and twisting the stitches up evenly and methodically meant the boats were essentially straight anyway.

We made sure "BC" got to look - and with her curiosity killed by this inspection - she never bothered to jump in the boats again. If you look you can see the seams have all been glued with the syringes so....

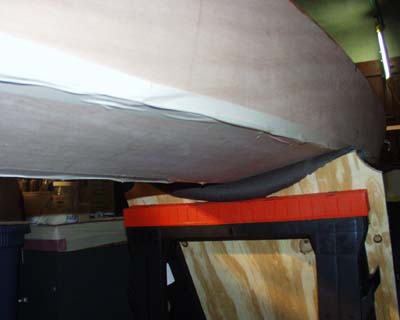
.....if the clamping blocks are correctly fitted you can open up the bow
and stern stitching to get access to fit the epoxy tapes.

With the boat glued together - we are about to cut out the copper stitches

On our way out to dinner we had a spare 10 mins and got the glass tapes measured and cut (a clean dry job) for the next morning. Every 10 minutes you can get into the boat at odd moments really progresses the boat.


Glassing in the tapes. With the stern opened up this far you can really get the tapes near all the way to the end and we didn't use the second overlapping tape suggested in the build manual. The 1" scribed edge done back before we drilled the panels means you can get a really neat job of lining up the edges of the glass tape to the scribe line as you glass them in. The scratch in the epoxy from the scribe disappears as it fills with glue. A pencil line would be buried in the wood and always show. It is just plain neater!

Then with the ends pulled wide open.....

...we filled the end with thickened epoxy and wired the whole thing shut......

...........

A tendency for the sheer clamps to spread the edge was clamped tightly shut.


On the inside we loaded a long handled brush with thickened epoxy and smoothed the inside into a smooth radiused epoxy fillet. A final pass over with unthickened epoxy gives a smooth finish.

The process was repeated for the bow....
|