Starting Out
Re-ordered build sequence
-
Glue up sheer clamps
-
Glue up all side panels
-
Glue up bottom panels
-
Glue up Deck Panels
-
Epoxy coat internal faces of side panels, bottom panels, bulkheads
-
Glue on sheer clamps to side panels
-
Drill and wire bottom panels together
-
Drill side panels
-
Stitch side and bottom panels together
-
Dry fit bulkheads
-
Tape seams
-
Epoxy fillet bulkheads
-
Fit Deck beams
-
Fit out inside and finish
-
Fit decks and trim
-
Glass bottoms
-
Glass Decks
-
Fit rubrails
-
Varnish
|
First - let's be clear. There is NOTHING wrong with the method of building the kayaks outlined in Roy's build manual which is comprehensive, clear and will produce a great kayak. But even Roy's manual recognizes there are alternative ways of building the kayaks and offers some different build routines. On this site you will find how WE built the boats, following Roy's manual to a degree but also introducing some ideas of our own.
We also changed some of the deck equipment, the seat back and we fitted internal bilge pumps. Details of the sources for our differing equipment is on our Links page.
The ex-yacht production manager in me meant I recorded our hours and details of what we did as we went. You will find an Excel Spreadsheet (144kb) HERE which you can download and review for our build hours, time on tasks, some estimates of the correct amount of epoxy needed for each task (without waste), costs and final weight audit.
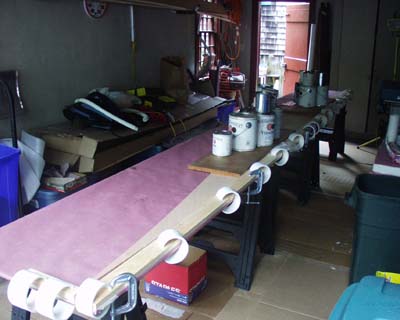
If you review the Setting up Shop page you will see we had to squeeze two builds into one bay of the garage. This meant we had to change the build order (from the manual - see right sidebar) to process with the least amount of set up and reworking setups - especially as we cut up our glue table to make jigs (and get it out the way!) and then again to make storage racks.
Check kit contents and unpack
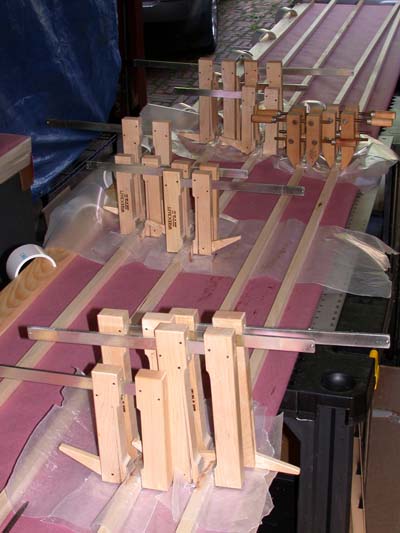
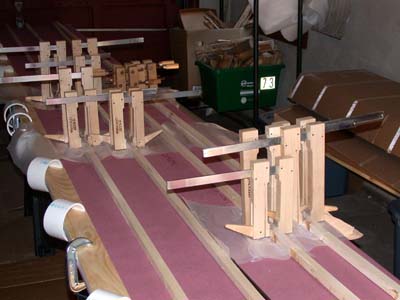
gluing up all the sheer clamps for both boats at the same time. Plastic Pipe "C" clamps are nice but these Maple Cam Clamps offer a lot of control over glue pressure and we used them a lot - especially when we needed the reach they offer to get at parts that were "hard to reach" in the boat. Lots of wax paper kept them as clean (at the end) as they were at the start. We had them in the shop already so did not buy them for the job - but they sure made some operations a lot easier than if we had used plastic pipe.
IMPORTANT - Before gluing together ANY panels, carefully inspect every one to determine the grain patterns. Many of the panels will actually fit back together to give a continuous grain pattern because they were actually cut from the one piece of ply. You should also be considering which sides will be inside and which outside the finished hull - especially if you are planning on varnished hulls. Careful pre-selection right up front can make your boat look REALLY GREAT. Miss this point and your boat can look a bit like a mismatched jigsaw.
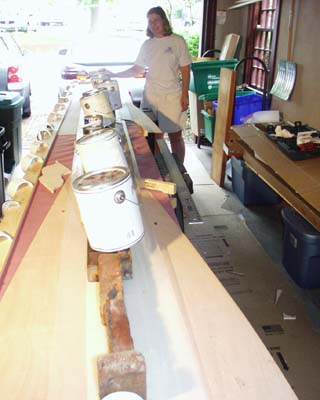
gluing up the bottom panels (side panels were done earlier). Pay close attention to the dimensions in the build manual that show the slight "relief" needed at either end of the bottom panels. The shape of the bottom of the boat depends on it to a HUGE degree. We glued two panels at a time, one on top of the other. For this to be successful the glue table must be perfectly flat and.......
....you have to spread the weight of your glue weights (here - full cans of paint) with a flat panel above (here - a mahogany board we had in the shop). You must use JUST enough glue for the job to avoid a "wedge" of glue forming under one set of fingers and so floating one part slightly higher than the other.
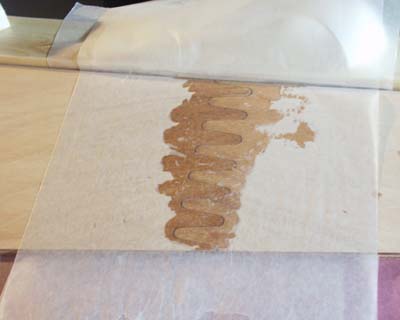
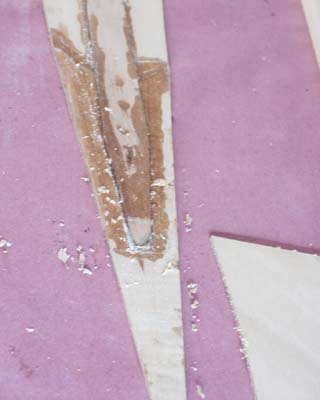
Post glue and peeling back the wax paper to inspect the joints.
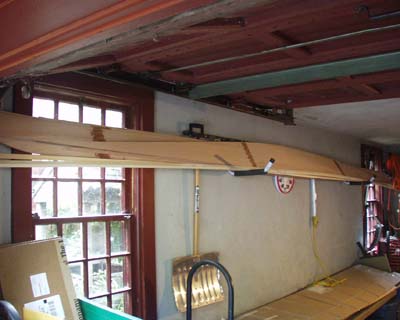
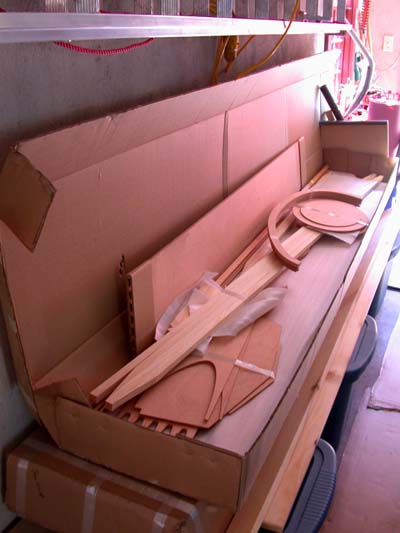
Sheer Clamps, Side Panels, Bottom Panels stored on wall to make room to keep building.
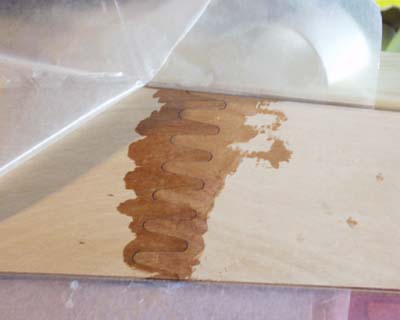
Making a mess with Epoxy
As a fundamental principle - if you can avoid getting epoxy on things not supposed to have it - avoid it
If you get epoxy on it - clean it off before it cures.
If you don't and it sets hard - you will spend 20 times the energy sanding and grinding than you would spend wiping it off uncured.
Hardened spikes of epoxy are excellent skin removers and will cut you to ribbons so try and avoid them by working as clean as possible in the first place. |
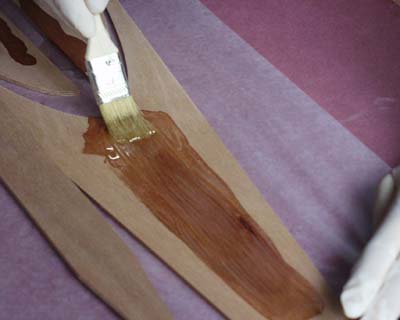
The deck panels are probably the most challenging of all the panels to put together because they have a butt strip and end pieces. The manual suggests doing this job in phases - gluing on the end pieces after joining the larger pieces. It can be done in one operation if you dry run practice it a few times and use an end piece clamped to the glue table (shown above) to push everything against to keep it all together as you glue. Note the extensive use of paper masking tape. This is to catch drips as we coat the inside face of the butt strip. It also neatly contains the glue at the edges and can be peeled off while the epoxy is still green - (see the testing section regarding green epoxy).
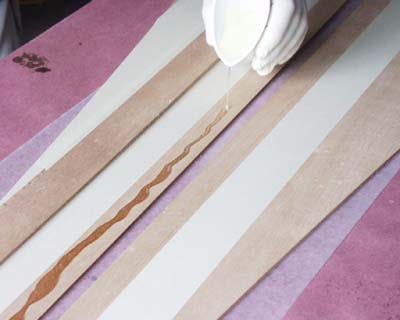
"Break" the edge of the paper mixing cup to form a fine spout to control pouring epoxy. One person walk down one side of the glue table pouring while.....
.......another person walks down the other side of the table brushing it out.
Thickened epoxy applied - everything pushed together and the butt strip flipped over to make the joint. See how the paper masking tape has protected the panel from epoxy during coating.
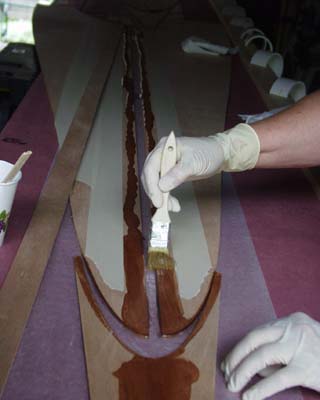
Long board applied to the butt strip and gluing pressure applied with paint cans. Our board wasn't quite long enough. Bricks in a row finished the glue weight!
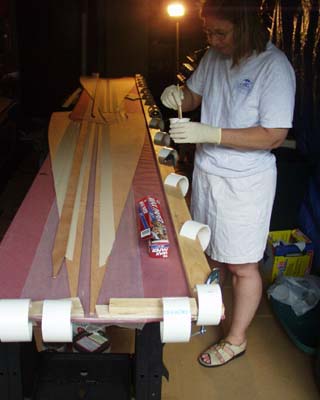
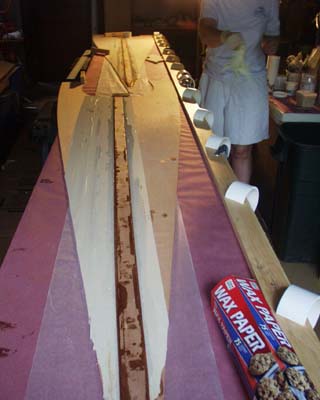
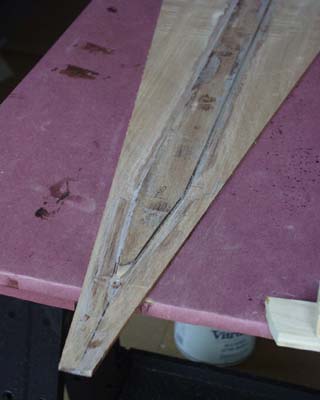
After gluing and removal of wax paper we cleaned up the edges.
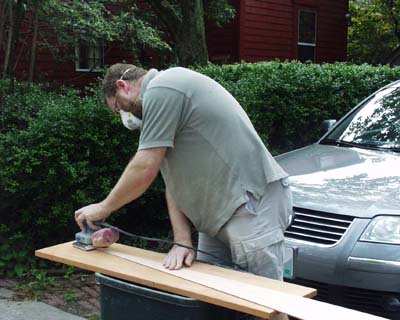
We were lucky and able to sand outside in warm weather. This kept the shop clean. You should still wear a dust mask. The collector bag on the palm sander became our collecting bag for wood flour that matched the hull panels. The wood flour provided with the kit had compacted and required sieving and grinding to be usable. We used "home made" as soon as possible to save pounding down the flour in the kit. We also spent a little money on more silica and only used wood flour above the water line. There is some evidence that wood flour below the waterline eventually absorbs water. Though we are probably being paranoid(!)
|