Skinning, apertures and rudders
Sand and Sand and fair and fill and sand and sand till your hull is perfectly smooth. Then subject the boat to the tack rag test. If you cannot pass a tack rag smoothly over the boat with no snags you will NEVER get the glass skin in place evenly..
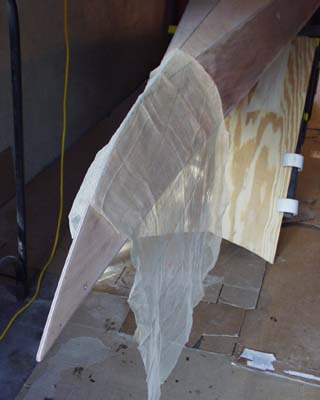
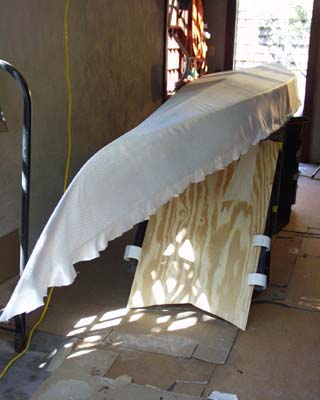
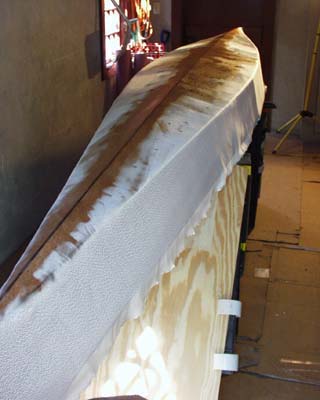
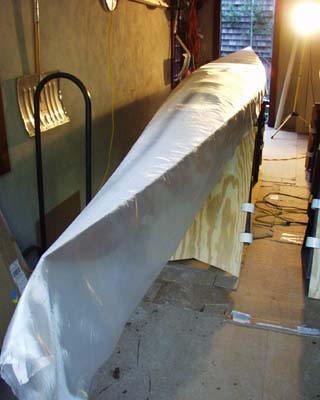
After tack ragging, ROLL (do not drag) the glass cloth down over the boat.
Using a "swimming" action (like in breast stroke) with the palms of your hands
- lightly smooth the cloth from the center of the boat towards the ends.
If you do this right the cloth can slide over the wood (which is why there must be NO snags) and will conform to the changing shape. A light smoothing pinch and pull with the "V" formed by your thumb and palm is all it should take to get the bow correct.
Then with a really sharp pair of scissors cut the cloth to within a couple of inches of the deck edge all around.
Remember those cocktail sticks we left in the brass rudder line tubes? Here they are at the stern.
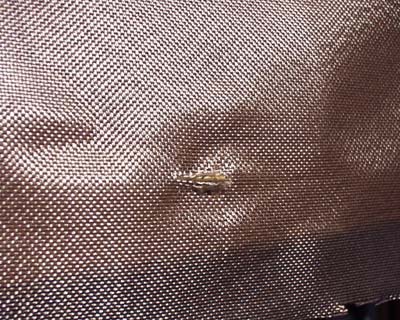
Reach under the cloth and take the stick out. Cut a simple slit with a sharp craft knife .....
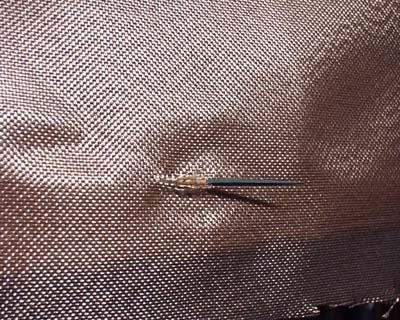
......and put back the cocktail stick.
Now start the resin. Dump a mix in the middle of the boat and secure the center of the cloth by rollering the resin out. Then work down the center line to the bow and down the center line to the stern on the bottom panel only.
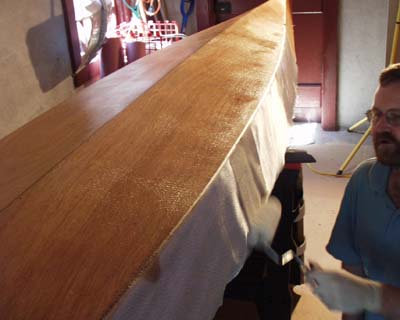
After you have filled in the whole bottom with JUST ENOUGH resin to hold the cloth down and not float it off the wood you can start on the sides. We did not use the squeegee up technique from the manual. I find it messy. We used a conventional roller tray and wet the roller and then transferred the resin to the cloth rollering it down hard. Pulling the cloth DOWN hard around the right angled edge at the bottom/side panel transition is important to getting the cloth to conform around the almost right angled edge. The cloth supplied is very "drapable" but right angles can always be a challenge and this method gets the cloth tight to the boat and not sitting in a ridge with an air pocket behind it.
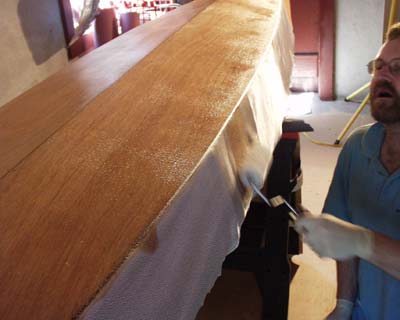
Whole boat coated.
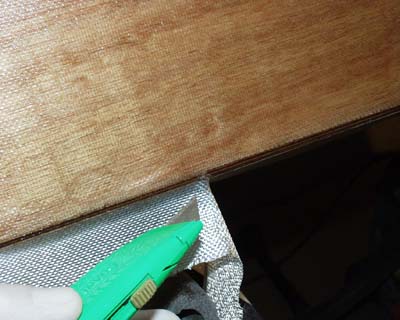
When the resin is green trim the edge (see Testing page for more on this)
As we ran a VERY sharp knife along the edge the weight of the cloth pulled the waste away.
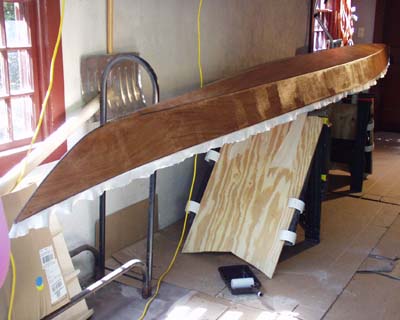
Both boats done with three filler coats of resin firmly rolled onto the cloth to fill the grain. If you roller AND tip off with a foam brush you minimize the amount of longboard sanding substantially later.
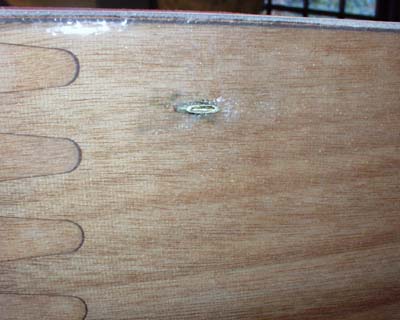
Remove cocktail stick, grind brass tube flush and re-insert stick to stop
subsequent coats of resin getting in the tube.
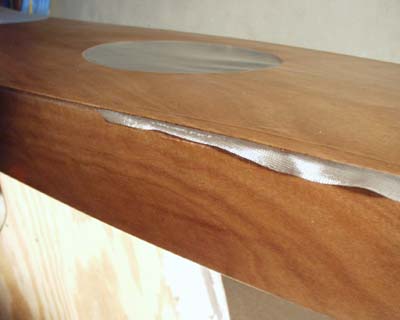
We were fitting the rub rail ON TOP of the cloth as a true rub rail to protect the boats, get damaged and repaired
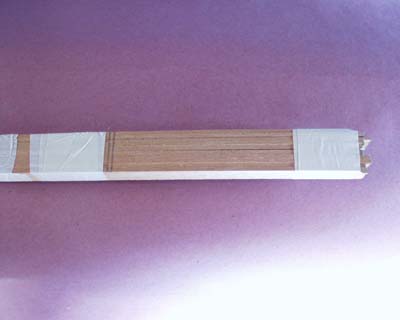
as necessary. We did not put them under the glass because even if well rounded into a curve it makes it harder to drape the cloth around the shape. We also used the rail to fair and cover the overlap from the deck cloth (an option). We scarphed up the joints while the resin on the hulls was curing. We taped the whole lot firmly together....

...marked the scarph....
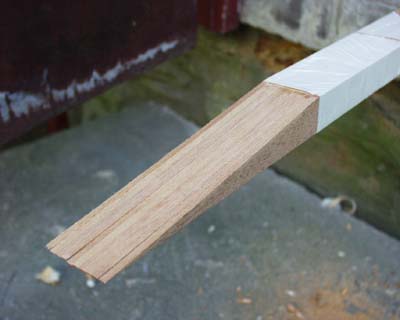
and cut all 5 scarphs in one operation.
Boats back upright as soon as the resin was sufficiently cured to not stick to the padded saw horses, we stripped off the masking.....
Tested with the tack rag and immediately....
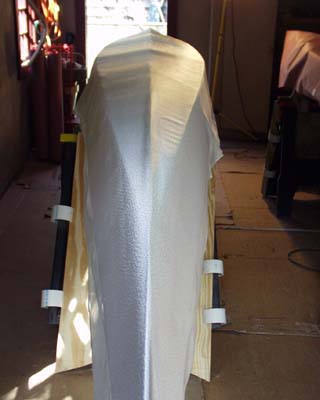
.....rolled on the glass cloth....
....and wet the cloth down with resin. overlapping the deck edge to the hull by about half an inch.
The lap will be lost under the rub rail. By doing this while the side cloth is still not fully cured we get a better chemical bond and this is a principle reason for preparing the deck so far back and then masking it off during subsequent operations.
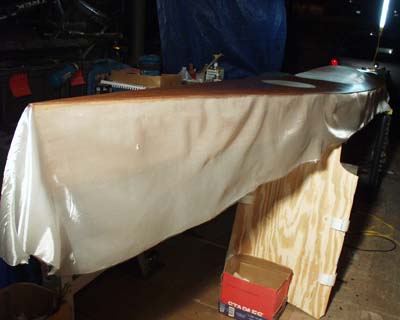
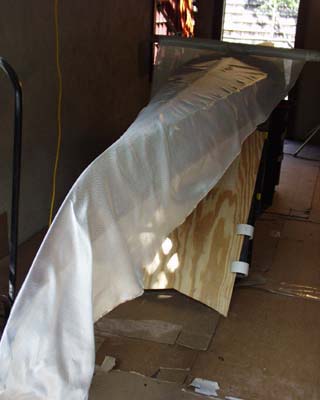
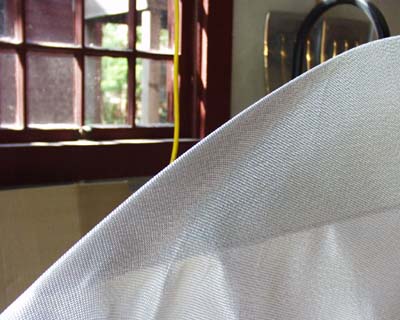
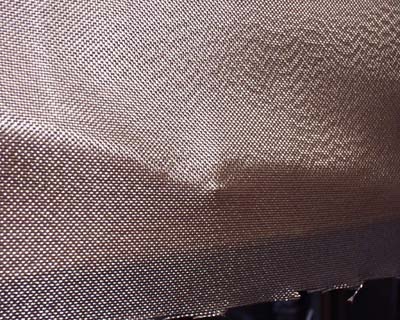
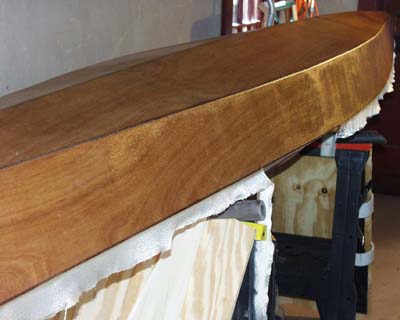
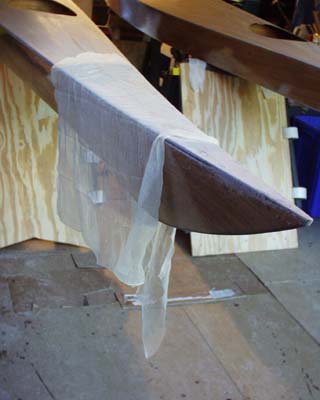
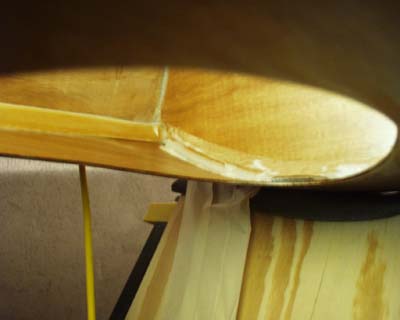
We tried two different methods to get the deck cloth to drape around the 100 degrees or so at the back of the boat. In the picture ABOVE this one we trimmed the cloth back and then rollered the edge hard down to the hull. It was not entirely successful and we had some fine edge air pockets caused by the cloth not conforming to the extreme angle. On the second boat we allowed the weight of the cloth to hang while the resin cured (above) and then trimmed it when the resin was green. This was MUCH more successful.
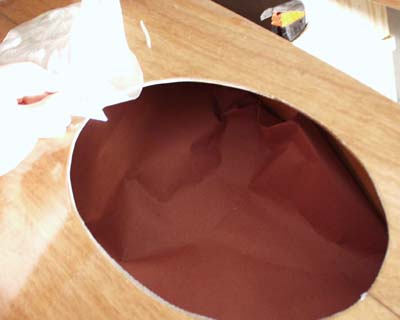
While the resin is green the apertures were cut out with a razor knife...
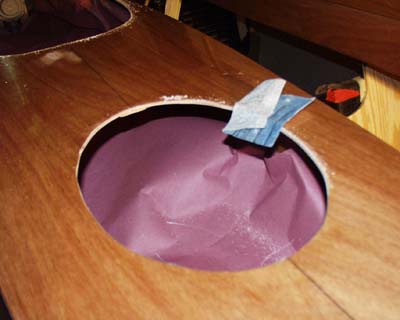
....lightly sanded and sealed under the grain filling coats of resin. Note temporary NEW masking in the hatch to prevent resin drips spoiling the varnish finish in the boat.
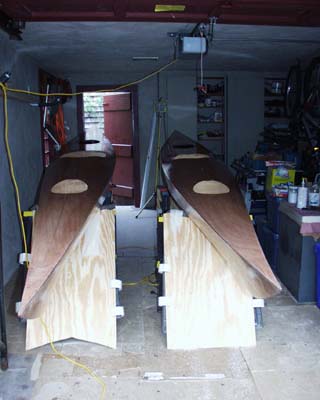
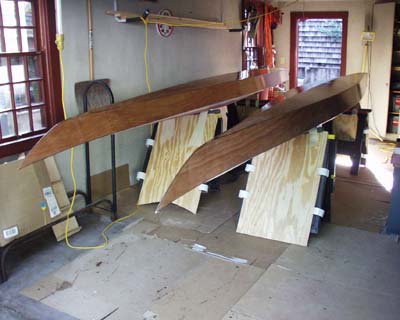
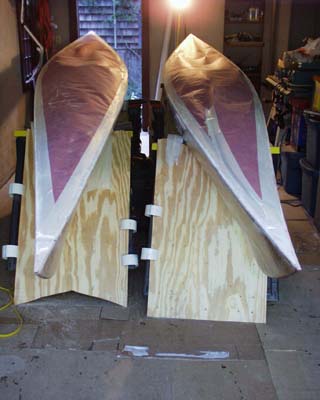
Both boats covered with glass and filled with resin.
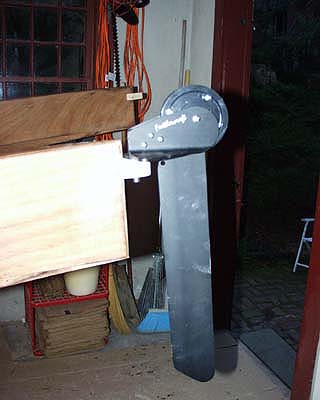
Test fit of rudder to determine exact position of rudder block which was now glued in place to the hulls while the resin on the hull cloth was green - improving chemical bond.
Hulls back upside down and epoxy fillets applied to the bulkheads (not glass tapes per manual); "I" beam edges and sheer clamp in the cockpit where we has some small irregularities in the glue line. When we varnished the interior of the boat we left the top edge of the bulkhead masked so it would not take varnish. You can see where we took off the masking in this shot and this means the epoxy fillet will stick to the wood and not fail on top of the varnish.
Working inside the boat like this is messy work and requires careful preparation of the job, good lighting in the boat, a respirator and an even temper.... (See Zen for help)
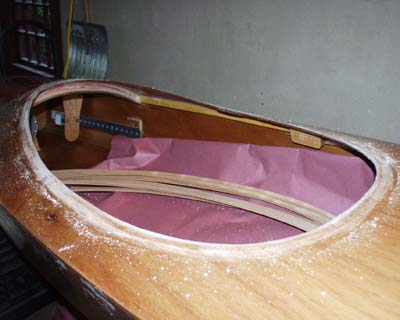
Roughing up the cockpit rim prior to.......
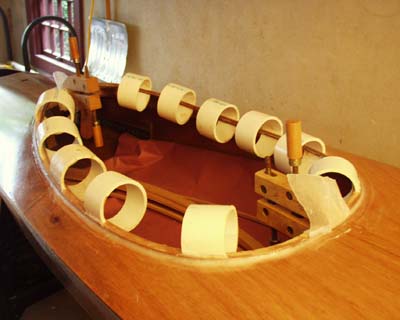
.....gluing down the first pass of the cockpit rim. You CAN do all three layers in one session but it is quite a juggle. As the cockpit rim is the most highly stressed area of the boat during a roll, or bail out or rescue - this has to be right and we took our time and built it up a layer at a time. Note the epoxy fillet around - to really beef up the edge and to protect in subsequent sanding operations.
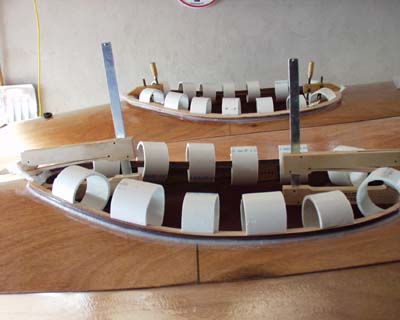
Back and forth between the boats - building the layers up.
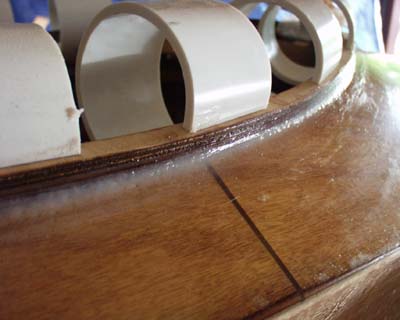
Showing the fillet to strengthen the rim.
|