Rub Rails, Fairing, Varnishing and Deck Hardware
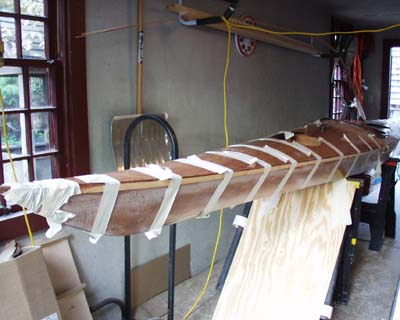
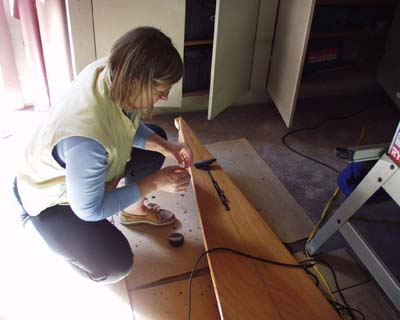
Fitting the rub rail. We bedded it down on thickened epoxy and found that masking tape was enough to firmly hold it in place instead of the hot glue gun method in the manual. Even the bent tip on the bow could be pulled with tape - though it helped that we had tapered the rail at the bow to a point.!
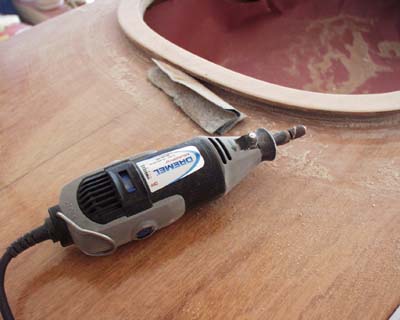
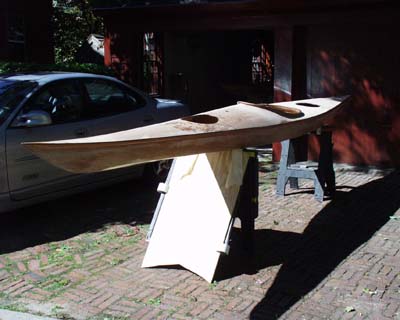
Tidying up the cockpit rim. A Dremel tool helped fair the rim underneath.
You HAVE to be able to confidently run your finger tip around the whole underneath of the rim.
If you feel a spike - your spray skirt will get shredded on it.
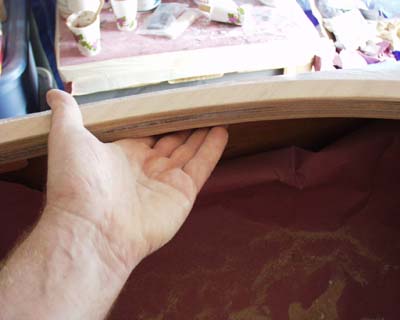
Same goes for inside the cockpit. Every surface MUST pass the hand touch test.
Only this will be your knees getting gouged.
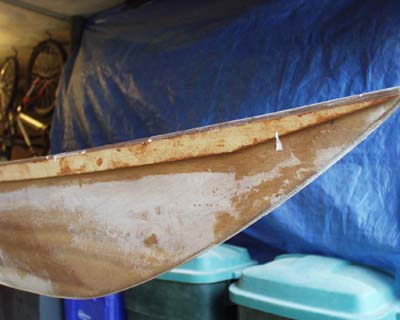
Rub Rail after gluing and.....
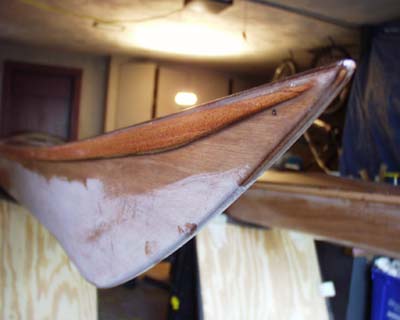
.....profiling into a curve
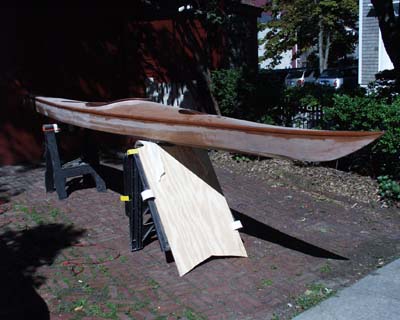
....outside for messy longboarding and sanding....
........and sanding.......
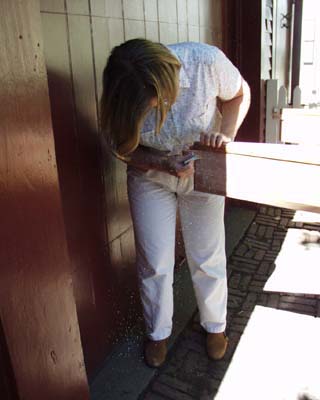
.......and sanding......

Cleaning the shop for varnishing (see Setting up Shop)
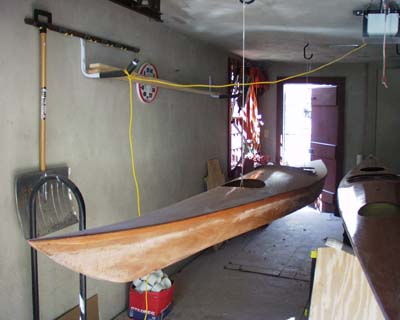
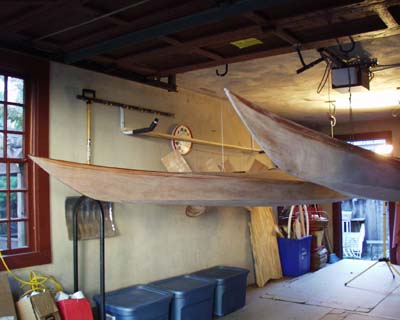
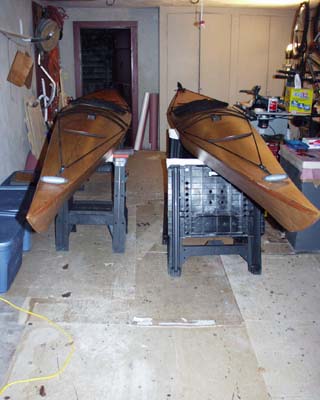
Boats suspended in space for varnishing.
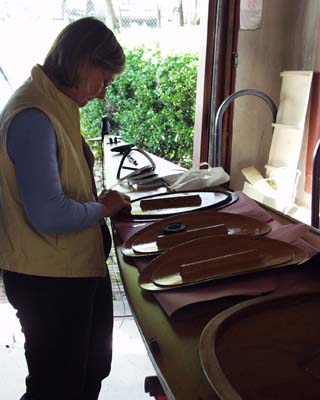
5 coats of one pot Polyurethane gloss was rolled on and tipped off every 12 hours and then allowed to harden. Then the boats were rubbed back, tack ragged and two coats of satin applied. I prefer satin varnish on the deck - less glare on the eye - but it's U/V resistance is not as good as gloss. Hence the gloss underneath.
Satin hulls? Yep! Lower friction than gloss (ask the sailboat guys about shark skin satin finishes below the waterline being faster than gloss)

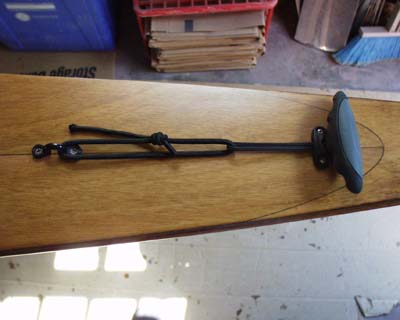
Fitting deckgear. Bungee stowed carry handles don't rattle.
Taping up all bungee ends to make neat
Fitting hatch seals

Velcro allows the seat pad to be adjusted. Note small brass build plate on the bulkhead. Go see your local engraver. Make sure it is solid brass and not plate which rusts after a few weeks.
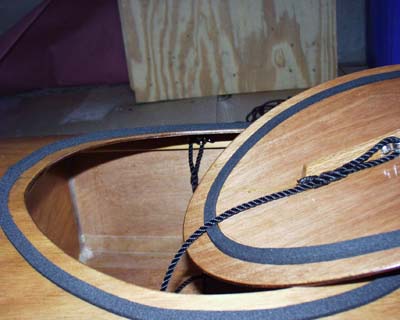
Remember those hatch strongbacks? Used to secure a safety line to inside the hatch. A hatch knocked off during a rescue is a disaster. A hatch knocked off and lost completely is probably the end of you. Fit safety lines so you have a chance of recovering and putting the hatch back on.
Lifelines from bows to bungee deck hold downs.
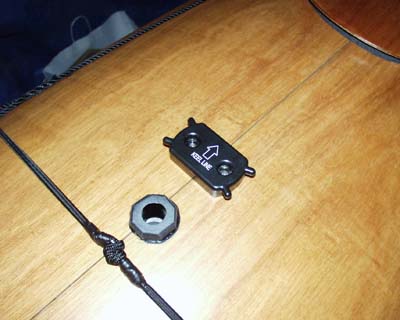
"Blow Hole" for pump out - Compass mount point next to it.. For the blow hole we passed an overlength through hull fitting down through the deck till it contacted the top of the pump spigot and then trimmed it to length. The through hull was glued into place with 3M-5200 Marine Sealant and then on the inside....
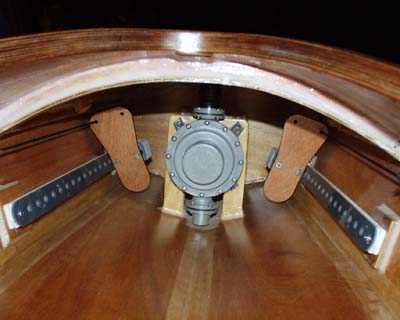
....we taped around the through hull and the pump spigot with layers of amalgamating tape (sold in some places as "Rigging Tape"). When the tape had set up and made a pipe we hose clipped it in place on each spigot. Servicing the pump will consist of drawing out the four screws holding the pump to the pump platform and then slicing through the pipe to get the pump out. Note rudder lines are rigged. We dispensed with the adjuster lines on the adjustable foot pads. We found we could reach in just fine by hand and the string just plain got in the way.
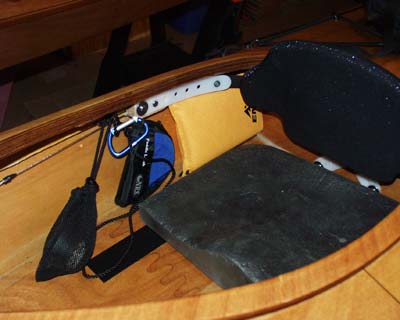
We fitted NSI anatomic touring seat backs (see Links section). Also stowed in each cockpit is a pouch for the compass, a sponge on a leash, and a paddle leash stowage pouch. Hip pads will follow once we have been on trials. (they did - on velcro like the seat to allow them to be adjusted slightly) . So on to Trials....>>
|