Trimming and Fairing
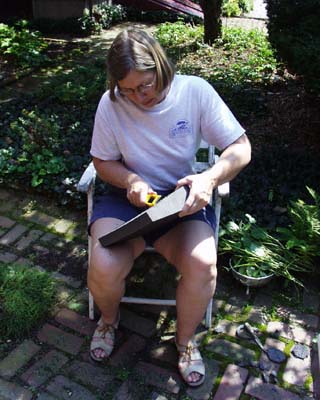
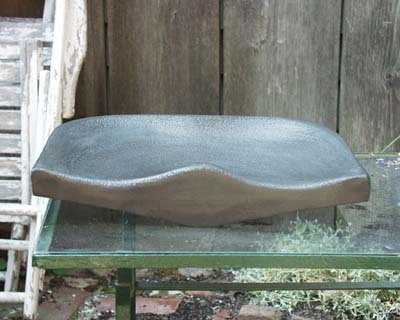
While the decks cure you can make your seats...
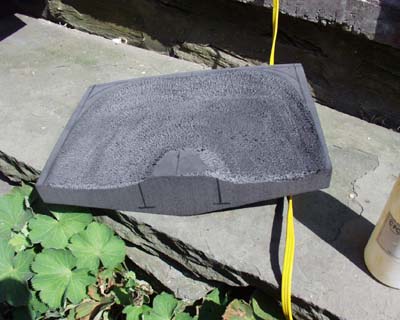
Just follow Roy's directions.

We gave the seats a final finish with a hot air gun. PRACTICE on a piece of scrap foam first - PLEASE - or you will melt away your beautiful work.
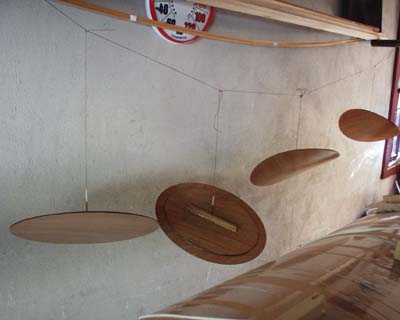
Hatches strung up for epoxy coating
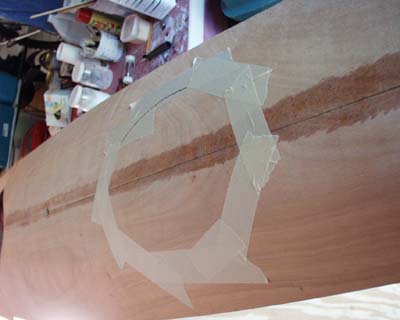
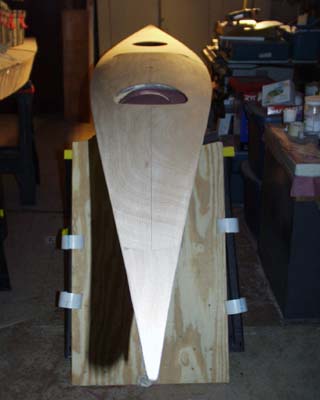
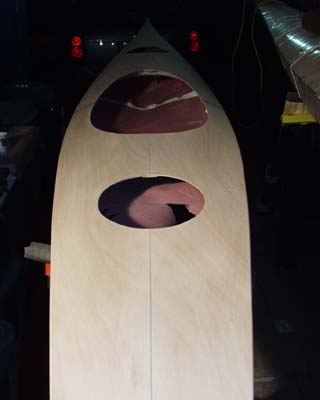
Remove tape from all over hull - Mark up the hatch openings then tape over them and firmly rub down your masking tape (which will prevent the ply edge bursting as you cut the holes)
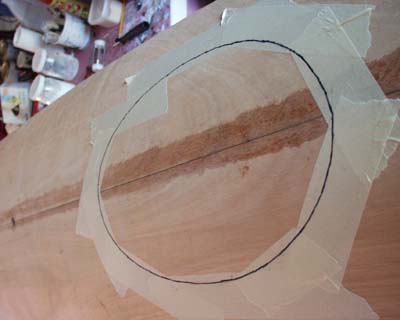
Transfer the line through the tape so you can see it when the dust is flying.
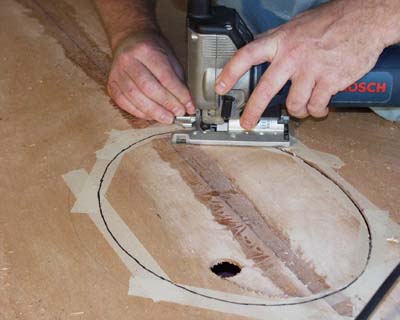
Drill a starter hole in from the edge then saw along the line.
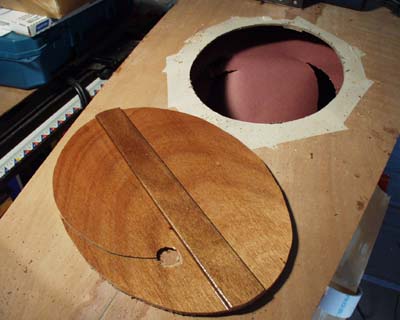
Hatch cut out.
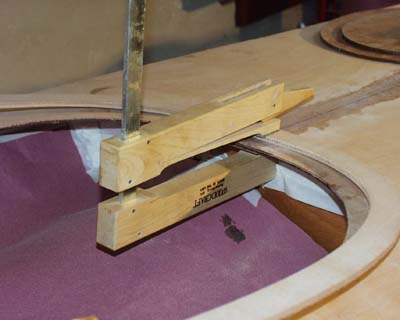
Clamp Cockpit Coaming to deck aperture.
Mark the line and remove the coaming.
Cut out the aperture.
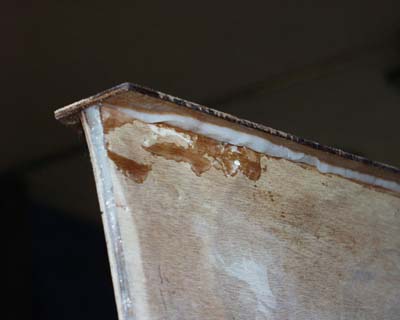
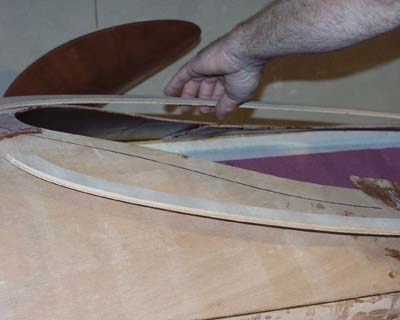
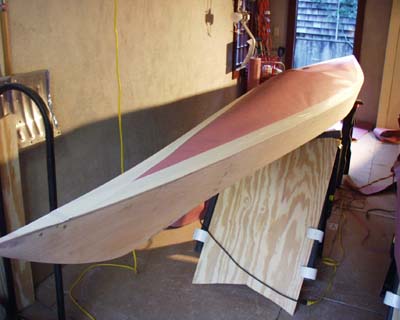
Now to deal with the over hang at the deck edge.
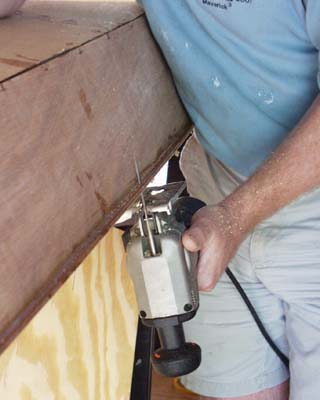
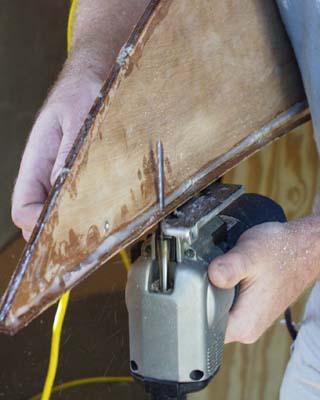
We did not transfer the dimension to the top of the deck as suggested in the manual. Instead we flipped the boats and with a firm grip, steady hand and new jigsaw blade (as well as good safety glasses) cut off the deck edge excess to within the glue line that had oozed out.
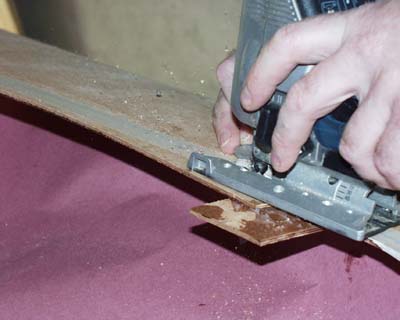
Because you want the blade running parallel to the side panel and the deck is a constantly changing angle you cannot reasonably set the foot plate of the jig saw to the deck angle and will end up holding it in place. This is OK as long as you have at least the edge of the saw foot plate is firmly held up to the deck. But the edge of the foot plate tends to gouge the thin ply so...
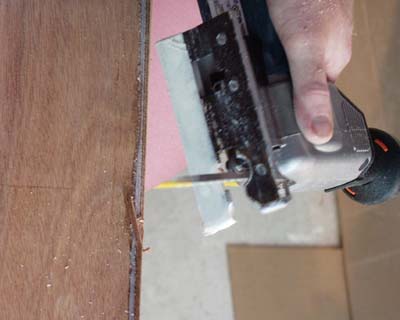
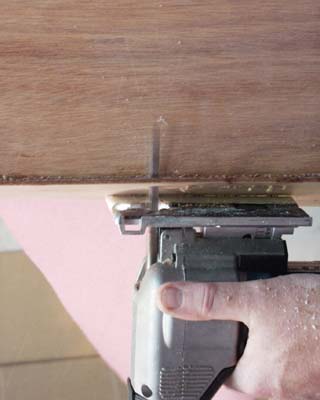
Plenty of masking tape wound around the edge of the plate "softens" it and prevents gouging.
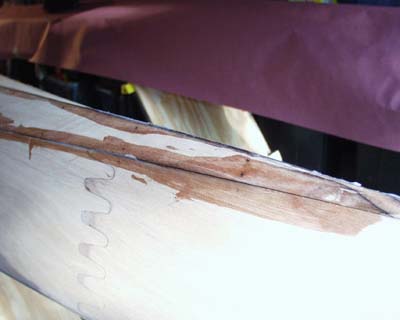
Running down the edge of the glue line.
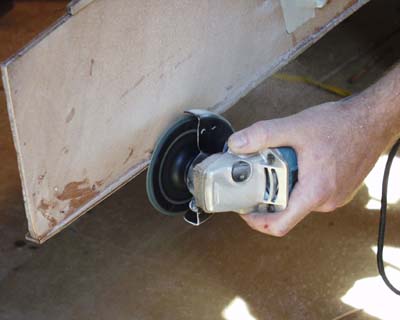
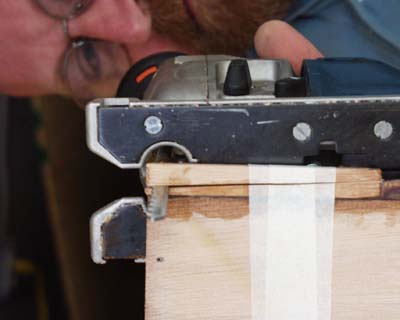
A second pass with a firmly held grinder took off the glue line.
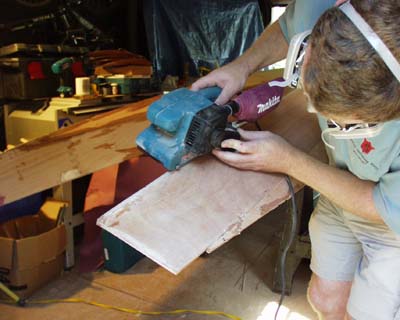
OK not everyone is going to do this - but we finished the edge with a belt sander. If you use one a lot then you might have the confidence to do it.......or you might want to do it by hand...... !
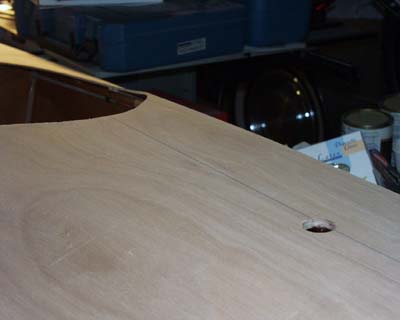
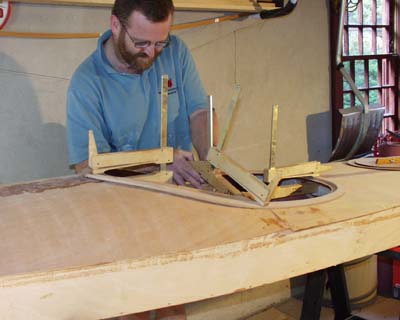
Final sanding and fairing of the deck
You will see later why we have this in a finished state long before we have finished the boat.
Now reach in and remove all that internal masking which protected things during decking and ....
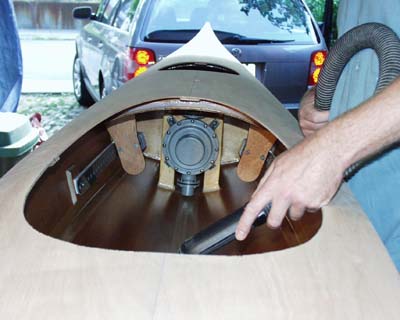
.....clean out the boat (again)
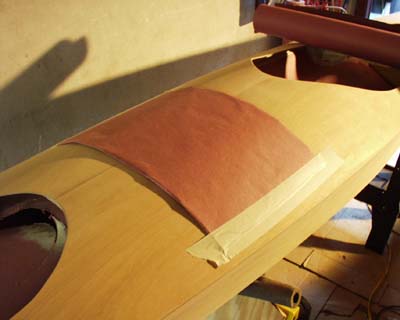
Paper padding to protect the deck when the boat is upside down in the saw horses for glassing.
Then mask over the WHOLE deck to protect it. That extra padding is underneath.

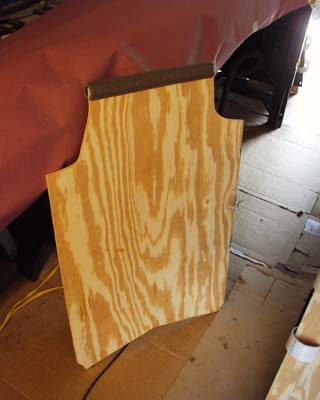
Pad the edges of the "tombstones" to prevent them gouging into the masking paper on the deck.
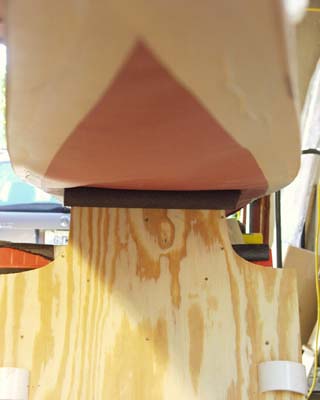
The foam should be against the boat where your paper padding is under the overall mask.
We also undercut the stands to allow the glass to hang down either side of the boat.

Now fill all the edges and stitch holes.
Fit and profile the bow and stern fillets then sand everything very smooth.
|