Decking
Dry run practice your moves a couple of times. Once everything is wet and flying you don't have time to discover you cannot reach the glue pot with the deck balanced on the saw horse! This joint is also impossible to inspect properly once made in some parts of the boat so it really pays to make sure you know what you are doing by practicing so you have a chance of a high quality joint. Absolutely practice cinching down the bow panel at the bulkhead and deck beam with a cord or strap around the boat so you get a curve that is easy to finish pulling down with the tape.
As mentioned in the build manual - you don't want to coat the inside of the deck panels till just before fitting because it makes them stiff and hard to bend. The build manual suggests decking within 12 hours of coating. We did it wet. Within 30 mins. This sequence is illustrated with a mixture of bow and stern panel shots because it was what we were able to photograph as we decked - but the PRINCIPLES of the sequence are in the correct order -
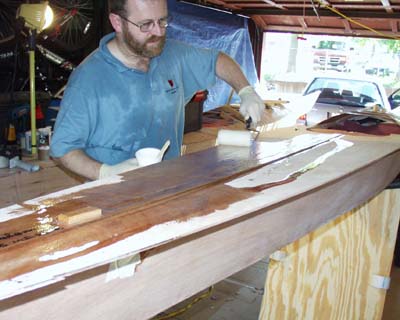
Resin "dumped" across the panel to prevent it kicking off in a hot pot and then rolling out....
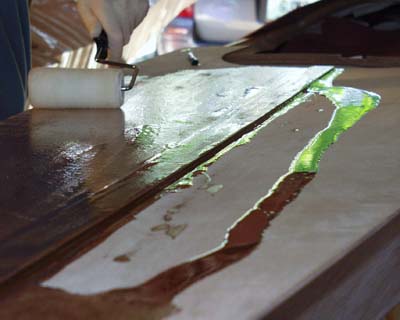
Really roll that resin out very evenly..
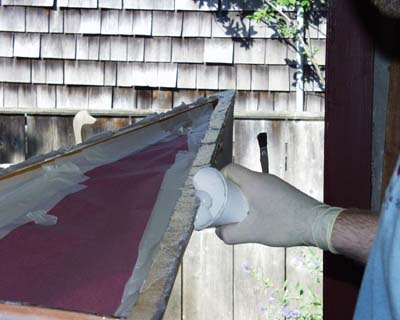
Now do the sheer clamp and tops of the "I" beams
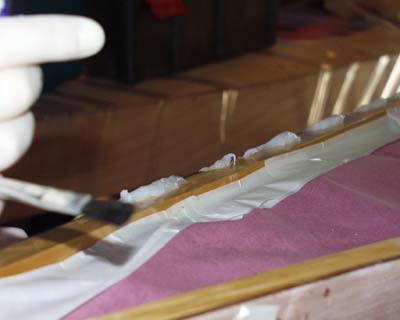
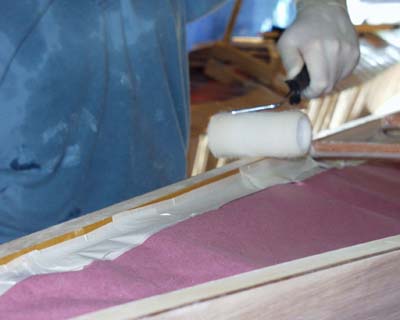
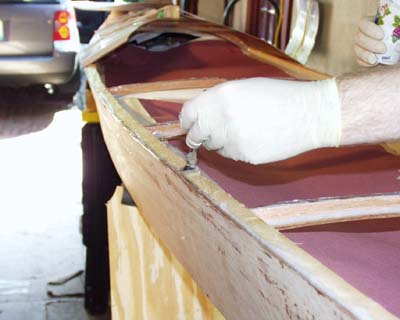
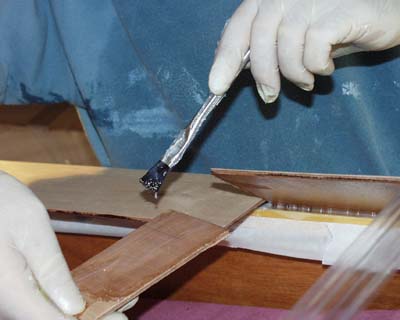
Now mix the thickened epoxy and "butter" it along the sheer clamp in large dabs. You have to do this quickly to spread the epoxy out and avoid a hot cup kicking off early on you.......
Then smear the dabs out level.... If you have mixed the correct amount of epoxy (see the build record for suggested amounts) then you will not have enough to do the whole clamp so.....
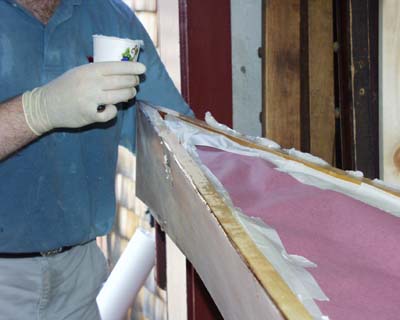
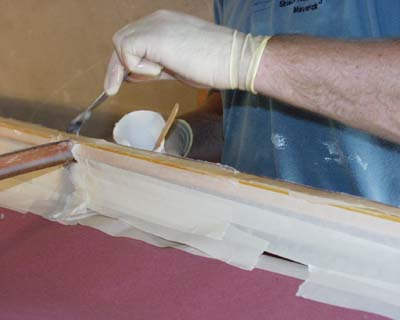
"break" the edge of your paper cup and scrape it along the edge of the boat to collect the excess that oozed over the edge as you spread the epoxy out.....
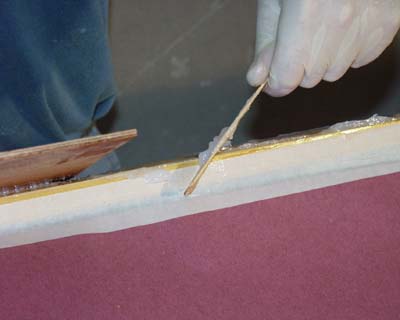
Use a stick to get the excess from the inside of the boat... and use the collected excess to finish the edge. If you get this right you will have a nice thick even coat of thick epoxy on the sheer clamp and no waste. You will also.....
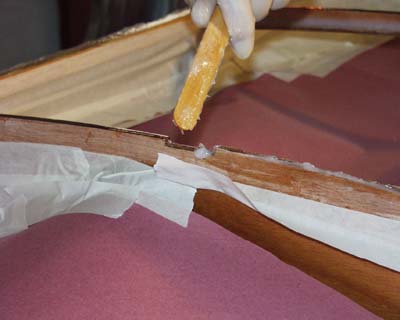
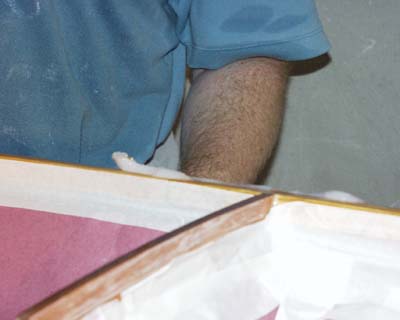
...have enough to put a thick "bead" on the top of the "I" beams
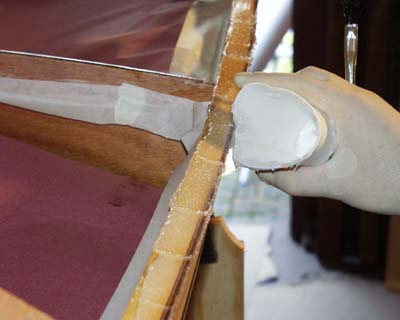
Just before you drop the deck on - pass over the epoxy with a paste brush to even out the last of the bumps.

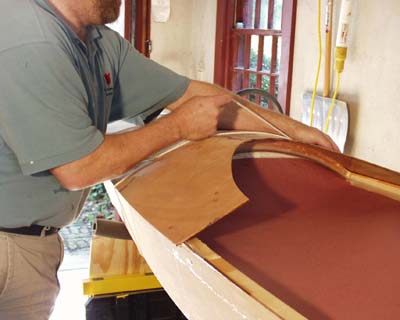
Then flip the deck panel over so wet side is down and push the point of the previously fitted
butt strip into the end of the boat, center the panel with everything still in the air (except the point which is resting in the boat) and drop the panel exactly into place. This way you will have no side to side movement smearing the thickened epoxy out the joint which risks glue starving the most critical joint in the boat. The butt strip should engage in the notches in the bulkheads and "I" beams first time with no wiggling if you get this right..
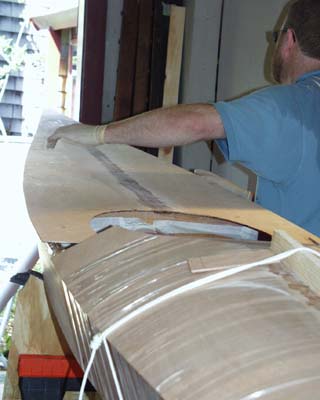
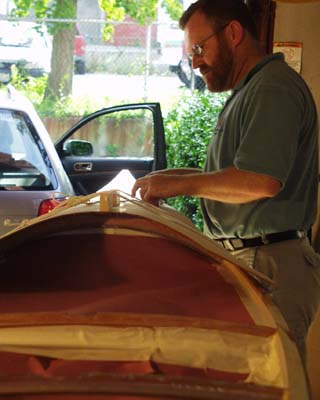
Here is the same exercise with the bow deck panel (WHICH YOU DO FIT FIRST! - just our stern panel pictures are better)
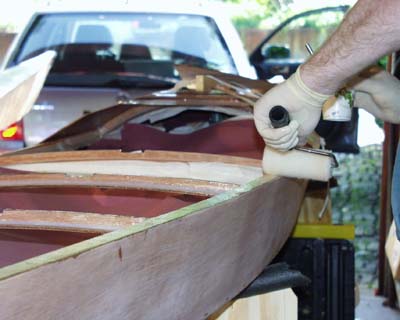
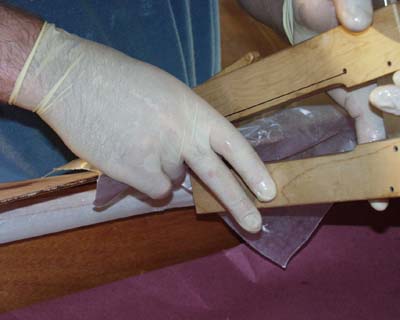
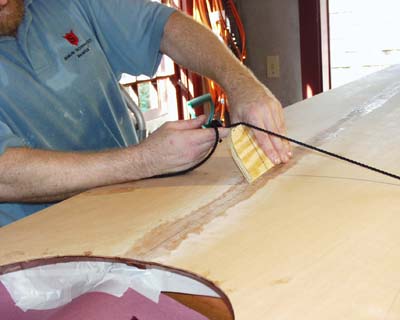
When doing the bow - secure the point of the deck with a couple of turns of the packing tape around the box then....
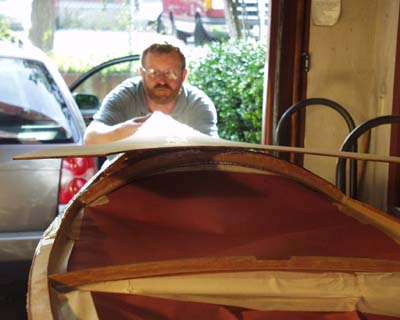
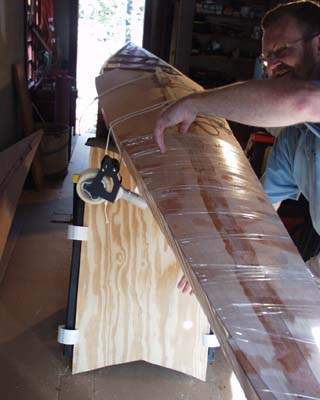
Then pull the panel down with a strap or line at the bulkhead and deck beam
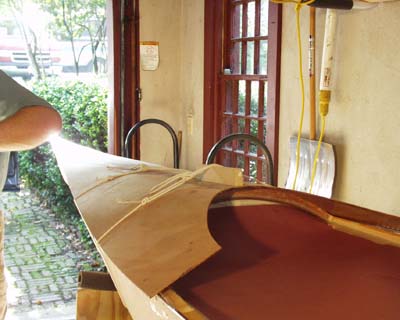
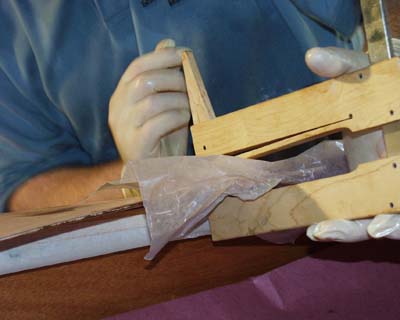
As the build manual warns - the pressure of your line (and later the tape) tends to pull the edges of the ply in and raise the center of the deck off the bulkhead and beams . A piece of ply forced under the line will push the center back down.
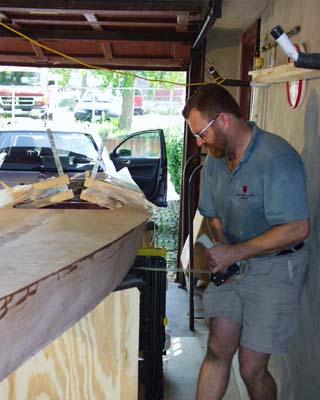
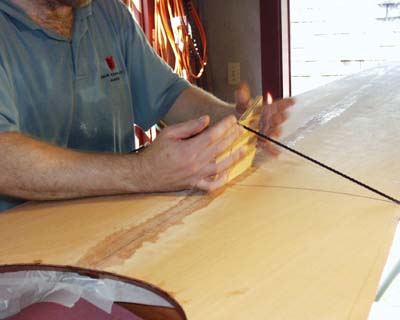
A tape packing machine makes application of the tape much easier. We just kept winding - it proved easier than working in strips and there is more than enough tape supplied to allow you to do this. Pull the tape to the yield point just before it breaks for the correct tension.
BUT! as the manual says - stop every three or four strips and wind from the other side to equalise the twisting tensions you are applying.
As the boat gets wider the weight of that tape machine makes it much easier to "catch" the tape around the boat.
We did try the job with two people but found it hard to co-ordinate even tension.
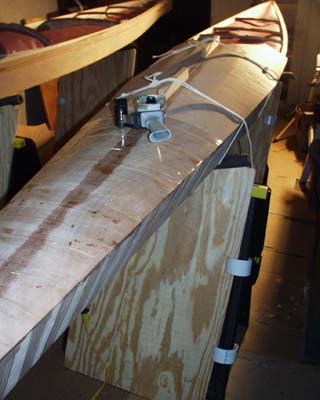
As the tape pulled the edges in it was important to push the centerline down with bigger wood wedges under the lines.

Call me mummified!
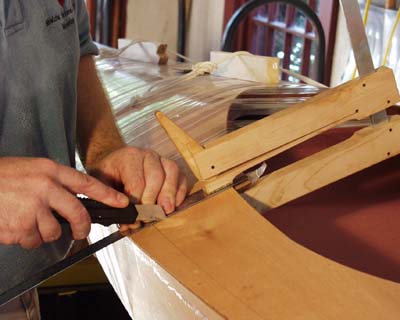
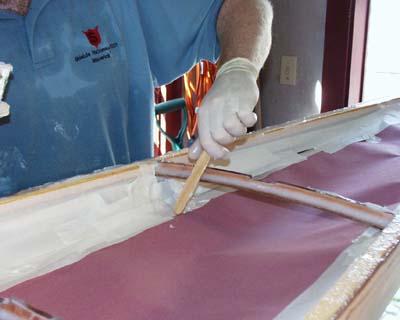
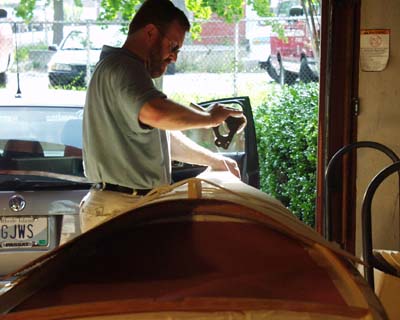
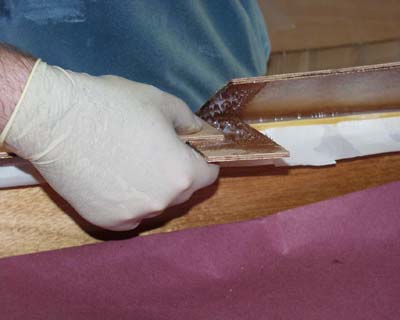
With the stern panel dropped on you need to make the butt joint before taping down. The actual stern is secured with a few pases of tape and then we clamped a steel edge to the joint and lightly passed a craft knife (new blade) over the line a few times.
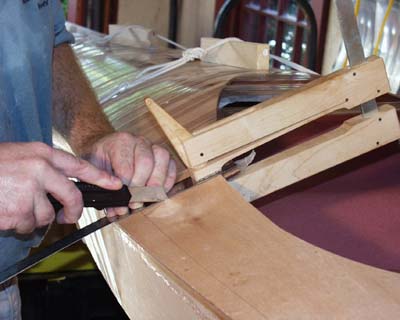
After removing the top piece - we reapplied the straight edge and kept stroking with the knife.
On the last stroke we "snapped" the last piece up and had a neat butt joint.
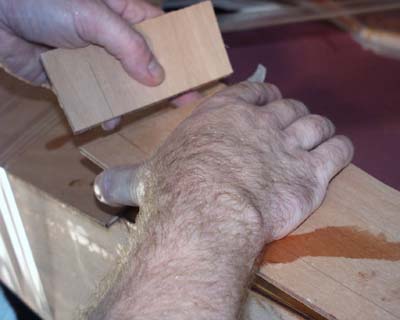
The piece we "snapped" off was used as the butt pad.
Then a quick wax paper and clamp juggle and...
You have a butt joint! Do both sides then....
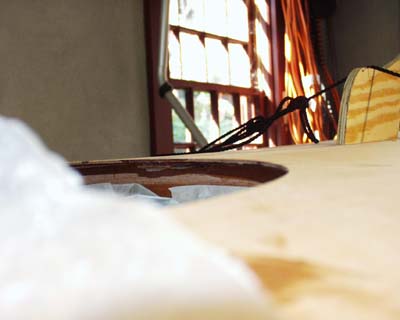
The build manual very specifically warns about this tendency for the center of
the aft panel to jump up off the aft bulkhead
It only takes a little pressure to push it down so.....

The line wrap around with wood wedged under trick gets the center down while you get the tape on.
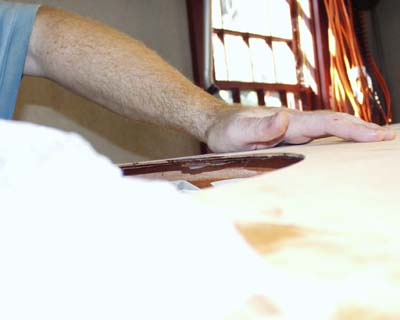
See - held down and glue oozing out - good sign.

Now tape up the back of the boat.
You can space the tape more on the back deck as it is much easier to pull down. Just inspect the glue edge and make sure glue is oozing out evenly all along.
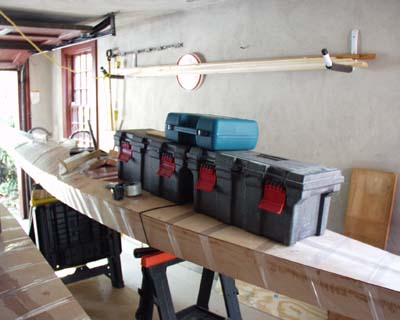
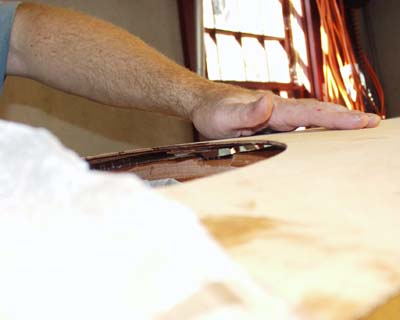
Finally you can weight the center of the whole back panel to make sure it stays down while the glue sets.
Tool Boxes- Man's second oldest gluing weight :-).
|