Internal Systems and Finishing - plus Optional Pump
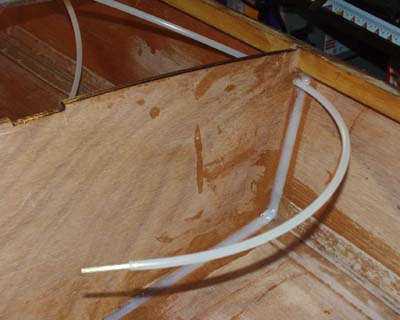
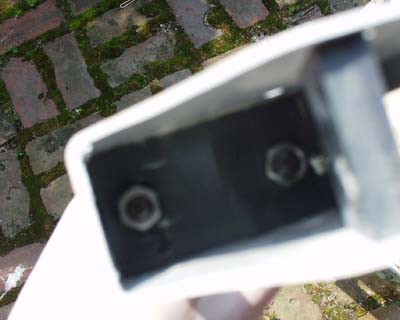
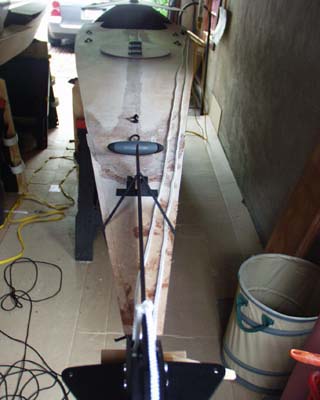
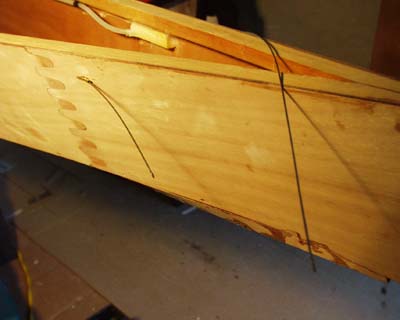
OK - this is the ONE bit of the build manual I really did not agree with. The termination of the inner rudder tube end at the bulkhead. The small brass tube does not offer much in the way of an effective gluing areas to the thin bulkhead. As plenty of polythene pipe had been provided - I brought the pipe through the bulkhead all the way to the maximum beam of the boat and held it in place with a couple of extra "P" clips. The hole at the bulkhead was ultimately sealed with 3M-5200 Polyurethane adhesive sealant which sticks to the pipe much better than epoxy. You can also see the finished epoxy fillet that holds the bulkhead in place in this shot.
The Foot Pump
(this is not a Roy Folland item
- we scratch built these into the boats) 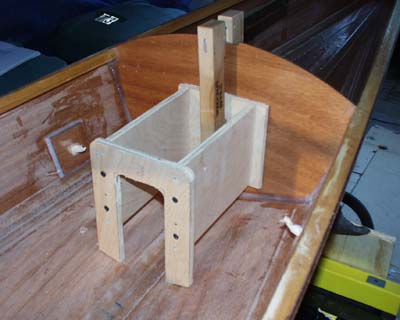
I have a fundamental disagreement with those pumps that are sold in US kayak stores for pumping out after a capsize. They require two hands, a breach in your spray skirt to get the water out and no hands are left to paddle, brace or slap for support. A second capsize seems inevitable in rough conditions. In Scotland (where I come from) internal pump options are readily available. I was amazed to discover that an appropriate pump was looking increasingly hard to get and I was going to have to import a small Whale brand galley foot pump from the UK. Then I finally found an article in Sea Kayaker Magazine where someone in the USA had the same philosophy and mentioned a pump by the Bosworth Company (see links section) that did the trick. A call to the Bosworth Company and my custom assembled pumps - at regular retail price - were ready in just three days. And they were only 15 miles away from me in East Providence, RI!!
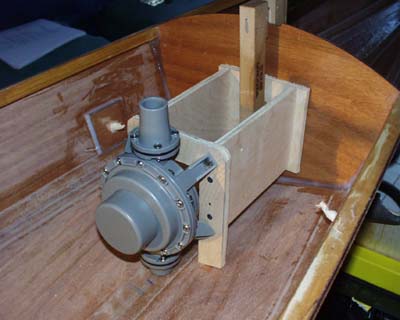
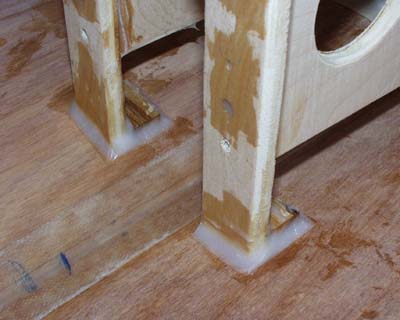
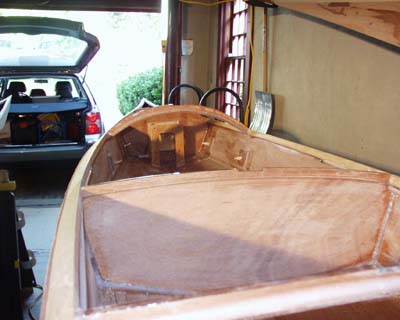
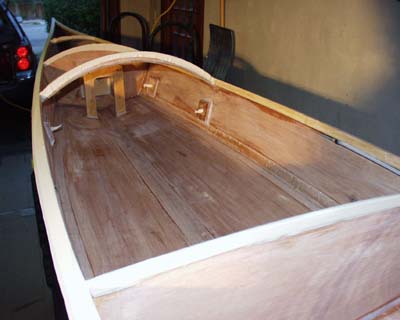
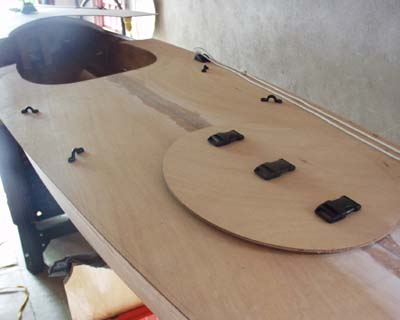
All the other articles involve plumbing and I was really trying to avoid any because I was already adding weight and anything I could do to reduce this was going to be a bonus and my size (12US) 45 Euro feet were already crowding the foot space! It was also clear I would need to get the pump in the same plane as my foot - which was approximately the mid point of the foot brace tracks. This meant bringing it towards me off the bulkhead. The forward bulkhead was going to need stiffening too to take the pounding from an emergency pump out. The two pictures above show the dry run mock up made of 3/8" ply and drywall screws.
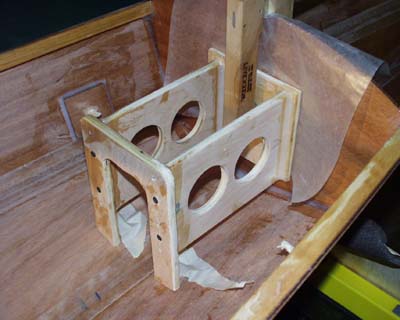
Here the ply sides have been drilled out to save weight, paper tape is holding small blocks in the bottom of the boat for position and the wax paper is preventing the frame sticking to the bulkhead while initial epoxy fillets are applied to the sides and end plates to hold it together. In Alex's Sea Wolf her platform is about half the length and needed only one set of lightening holes.
Drywall screws removed and holes filled and everything epoxied into place.
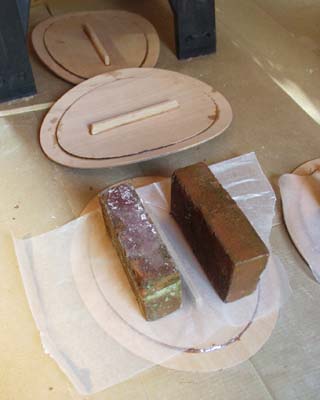
While waiting for items to cure we processed other parts - here the forward hatch covers which we taped onto the bending jig. Simpler and faster than the strip wood method in the build manual.
These are the adjustable foot pedals. The pessimist in me removed the holding bolt on the left and.....

....fitted it the other way up. If the nut ever falls off in action I hope the weight of the bolt will hold it in place!
We epoxied the nuts on while we were at it!
Fitting the flex pad steering - the nuts were puddled in epoxy to stop them working loose.
Sheer clamps planed. The build manual gives excellent instructions as to how to achieve the correct changing profile. A REALLY sharp plane is needed. Epoxy dulls edges. We rehoned the blade for each side of each boat - saves time and temper when the tool dulls.
Cleaning up sheer clamp shavings, sanding out the inside of the boats prior to varnishing. We had thought to put some bow art on the boats and the bit of paper in the bow is an enlargement of an Inuit polar bear carving. But more research showed the Inuit basically did not decorate the skins of their boats - instead decorating the fittings which were made of bone. In the end we did not decorate the boats.
All rubbed out - ready to varnish.
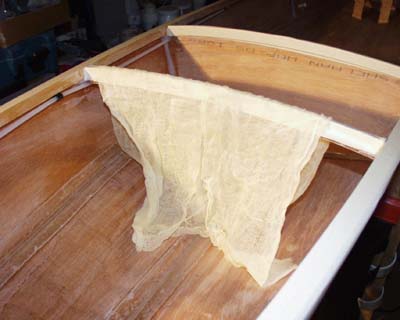
The tack rag serves two purposes - first to make sure all the dust is out (and you will ALWAYS get more than the vacuum did) and secondly the open weave cloth will show up the slightest snag inside the boat. Snags are usually left behind by small spikes of skin ripping epoxy. Take time to get this bit right......
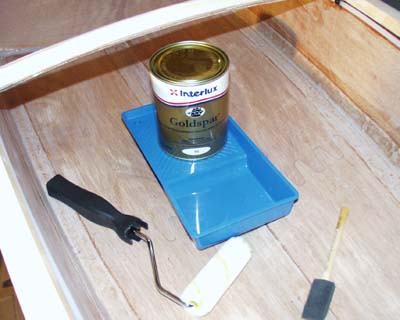
We varnished with a one pot polyuerethane quickly rolled on with a 4" roller and quickly tipped off with a foam brush. Total time to varnish two interiors by this method - 35mins per coat. For really high performance you might want to use a two pot polyuerethane. If you read the Personal Safety section you will see I do not believe many home builders are adequately equipped to use two pot paints and varnishes safely. The iso-cyanate gases given off during use and cure are life threatening over a period. In my time in the yacht industry I have seen enough of the long term effects. I don't have air fed hoods and a compressor - I stuck with one pot.
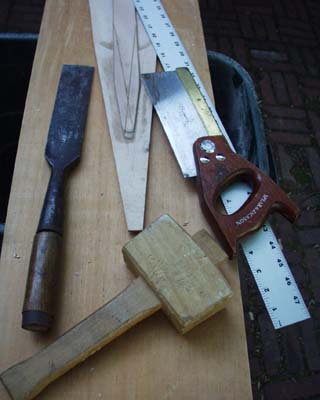
With the interior varnished with 4 coats of varnish (3 gloss - a light rub back and final coat of satin varnish) I got around to dry fitting the decks. I had goofed the measurement of the taper on the butt strip on the deck panels and had to take them back a bit. Roy might recognize that nice big bung chisel on the left. I bought it on a stand at the Wooden Boat Show just before I went over to his stand. I finally hid it in the grass so I would not drop it on one of his sample boats at the show! I did remember to pick it up and bring home.
With the deck panels sitting on top of the boats we measured and marked positions for the deck fittings. As I was adding lifelines and toggle carry handles I had extra fittings and I decided that although the webbing loops for the deck bungee cord were OK - I was going to use deck eyes (even if they hurt a little more in a rescue and can potentially "ding" the boat) because they are less inclined to rip in a tough rescue. Adding the lifelines meant that the rudder lines would need releading so this exercise is worthwhile while everything is dry and can be relocated with a pencil mark.
I bought and replaced items that Roy provided. There was nothing wrong with them but I didn't realise that the webbing and bungee in the kit was a VERY dark navy blue till I got it in strong sunlight one day. So from an aesthetic standpoint EVERYTHING was changed to black: Deck Eyes, fairleads, webbing, bungee cord, jamb cleats for the rudder lines, the actual rudder lines and the lifelines on deck.
It just makes the boat look sharper!

Another reason for the dry fit exercise is that the deck eye nearest the camera
and the fairlead tucked behind the toggle handle cannot be easily accessed once the deck is fitted so.....

.....we made up and bonded on their backing pads BEFORE the deck was glued down.
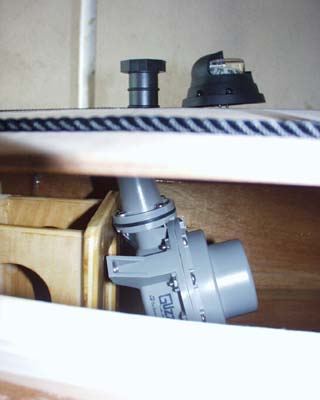
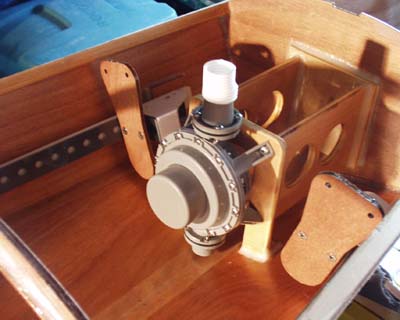
We also used the opportunity to "find" the pump exit. After some heartache about where to exit the bilge pump we decided that straight up through the deck in a "blow hole" used the least plumbing and gave a scenario in which the pump could be removed for service by removing just 4 screws. We "hid" the hole visually by putting the deck mount compass right next to it. On the finished boat it looks just fine. The pump exit hole at this point is drilled as a pilot - NOT as a finished size hole. I had every reason to (correctly) believe that the deck would shift slightly as it was bent in place and I would need to correct the position a hair.

"BC" spent a lot of time watching the job from her favorite perch - atop the car outside the garage door!
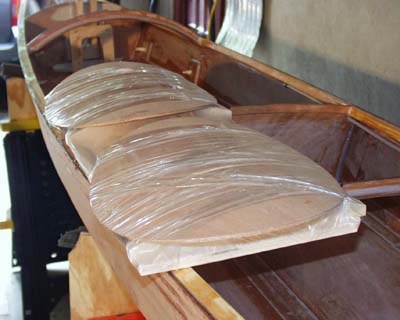
Other tasks can be carried out while waiting for varnish to dry. We made up the aft hatches. The strips of wood for strongbacks are our addition and not in the kit. You will see why if you read on.....
Prior to decking we now fitted out the inside of the cockpit footwells. Dabs of epoxy on the track nuts should prevent them ever working loose.

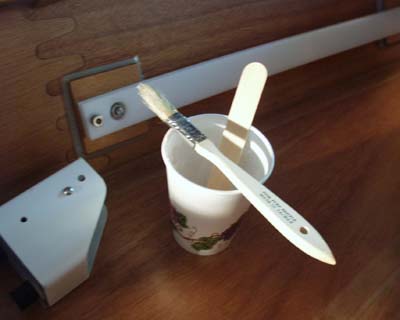
A temporary soft white piece of PVC pipe will help us with final alignment of the pump exit hole relative to the pilot hole in the deck.
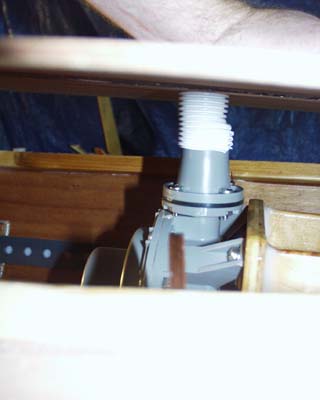
Pilot enlarged but still not full size.
This is your last chance prior to decking to make sure the rudder lines still pass through the tubes correctly. Call me"Paranoid" - it is my middle name!

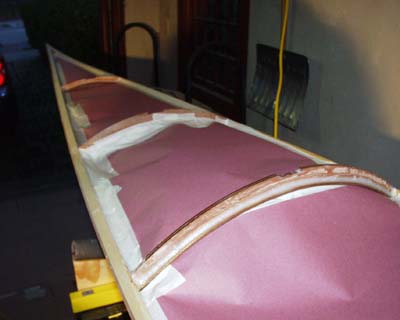
Decking is messy and epoxy will drip into the boat - ruining the beautiful finish you put on it! We completely masked the inside ot the boat leaving only the top face of the sheer clamp exposed and the tops of the "I" beams. It takes a little time but pays dividends in reduced clean up later..

|