Internal Structure
With glass tapes in place we fitted the bulkheads. We did not use glass tapes around all those corners which is VERY hard to make neat. We used thickened epoxy radius fillets. If you are not sure how to do this or about the strength we suggest you practice on scrap material and then test (see Testing page) the result so you are comfortable with the concept. Or you could just tape them in place like the build manual suggests! If you want to try filleting - the West System User Manual has all the details as well as extensive descriptions of how to correctly glue. The bulkhead doubler is gettting glued on here with a few plastic "C" clamps and some epoxy that was left in the bottom of a cup from another job and which had not started to kick. Using cup ends like this on odd jobs reduces waste of the most expensive material in the boat.
Rubbing back the tapes and seams and getting a smooth finish
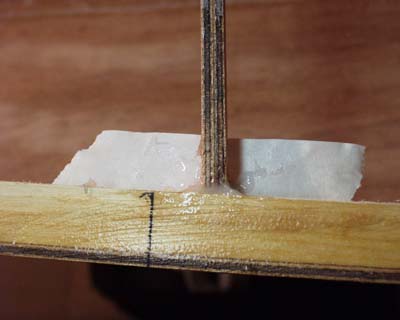
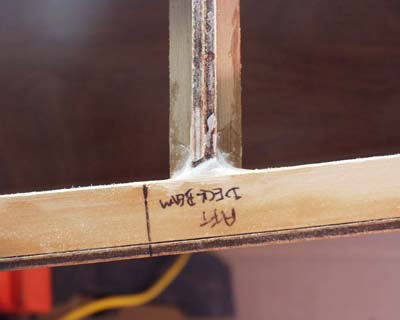
Taping the "I" beams together with thickened epoxy in the joint is more than enough to give the right glue pressure. By winding the tape around the parts they are forced to align correctly. This is easier then them potentially slipping while under a glue press where you cannot see them.
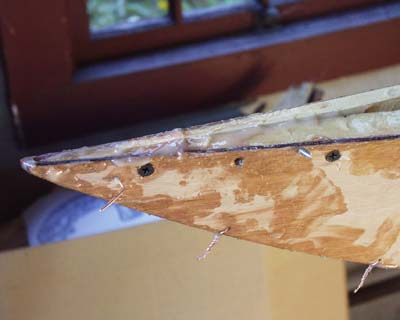
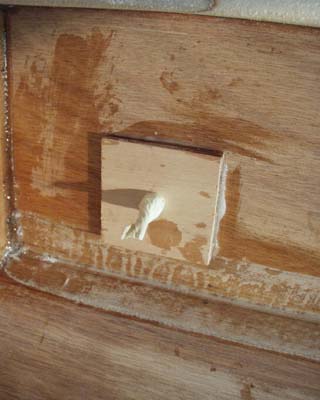
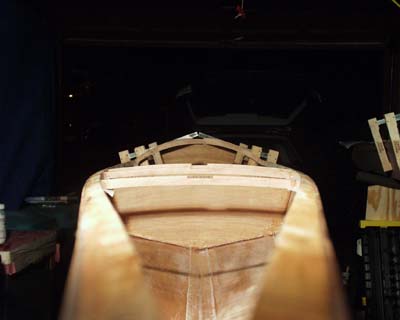
For some reason I had a lot of trouble getting the bow of the Sea Lion to close correctly. I used 4 long screws to hold it together while the epoxy set and then removed them. I got away with this because I knew I would be hiding the filled holes under the rub rail!
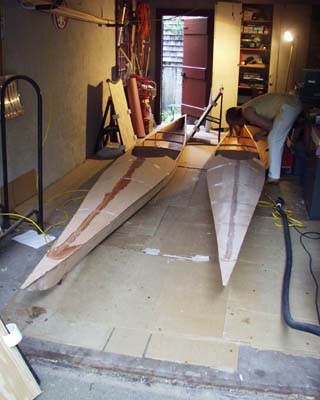
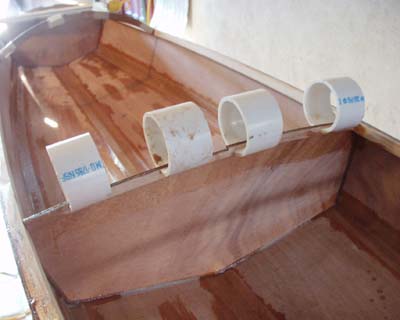
Boats were set on the floor (on the foam seat wedges to stop them rocking) with the front half of the decks held in place with enough tape to give approximate shape.
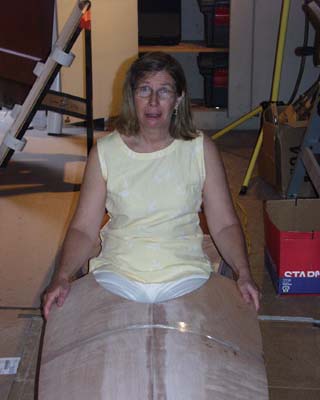
Then we each found where our feet landed with our knees up under the deck like we would be for real.
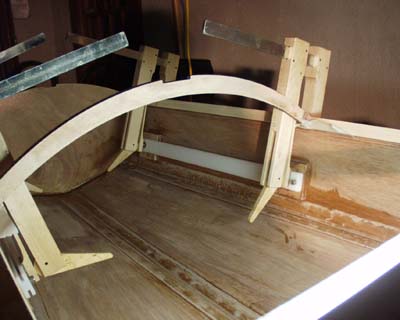
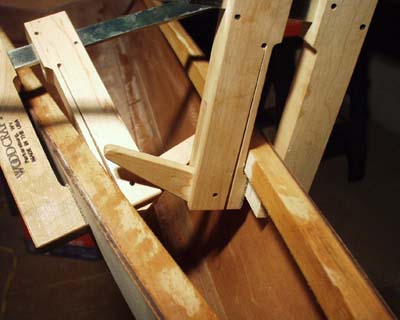
This helped us find the mid-point of the track for the adjustable foot pads. Here they are made up and getting held in place with those WONDERFUL long reach maple clamps while the epoxy under the wood pads sets. We were able to do all four tracks (two boats) in one session which saved a HUGE amount of time compared to the build manual suggested method of laying the boat on it's side and doing one side at a time.
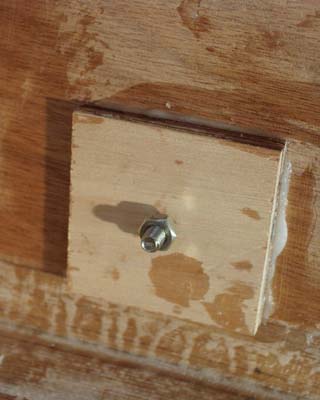
With the epoxy set we removed the tracks and ran the nut back up the machine screw thread......
....then covered the whole in masking tape to protect the threads from epoxy drips during the rest of the build.
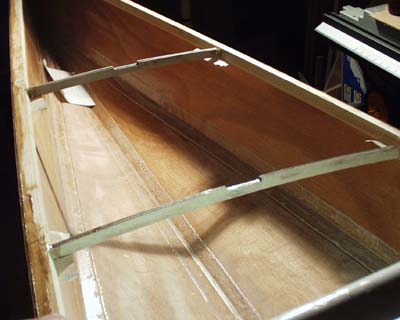
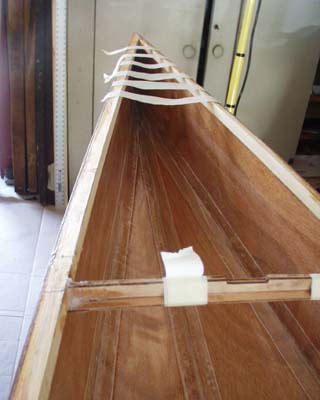
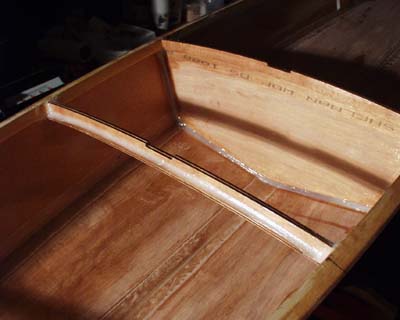
Late night shot of all the "I" beams in place. The ends are held in place with masking tape while a sight down the boat checks all the notches are in a dead straight line.....
...when they are the ends of the beams are "tacked" in place with dabs of thickened epoxy.
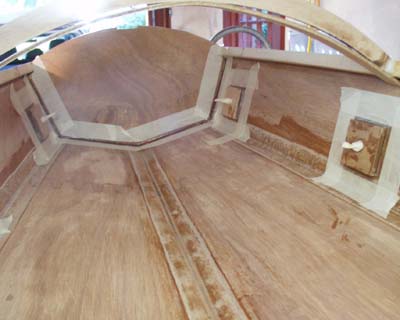
Masking for epoxy filleting. The bulkheads are about to get a finish fillet and the square pads for the footpads will get blended onto the hull sides with fillets to make a neater and smoother finish edge.
Fillets after lifting off of the masking tape. A light brush over "green" fillets with unthickened epoxy smooths the whole thing away.
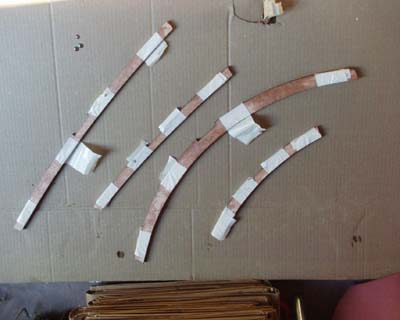
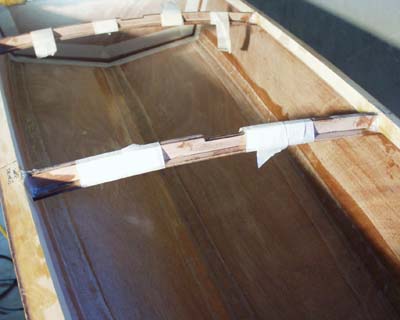
The underside of the "I" beams were "tacked" in place with dabs of thickened epoxy. The ply was clampd up to the beam by binding with masking tape (strips in the background are cut in advance to make it easier when doing the job). This is much easier than struggling with "C" clamps. WARNING - if you are going to do this you MUST use full epoxy fillets to finish the beams. See 3 pictures below.
After curing the end "tacks" were radiused smooth with a dremel tool.
Then each "I" beam was fully filleted on both sides to make an immensly strong beam. You MUST fillet like this if you use our "tack" and masking tape method of clamping. If you do not the beam will be seriously understrength because it is not fully glued.
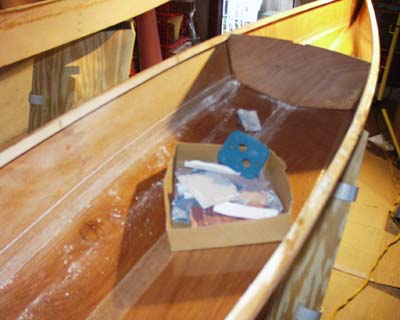
Those long reach clamps with their soft cork jaws make gluing in the rudder tube blocks a very easy job. This is the dry mock up before gluing. On the "wet" version the clamps were protected with wax paper.
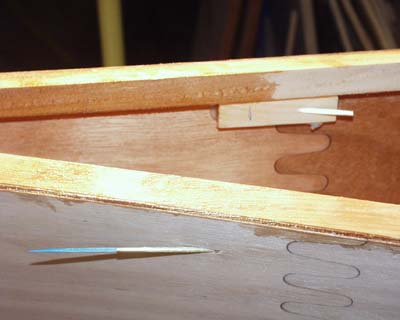
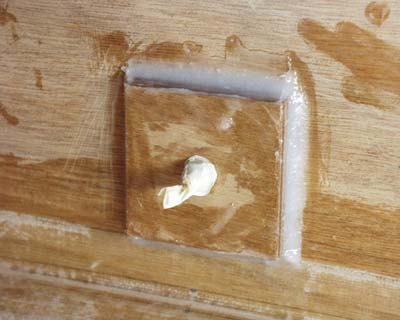
Rudder blocks drilled and with brass tubes fitted. Really rough up the outside of the brass tubes with 60 grit paper prior to bonding them in to make sure the glue gets a mechanical bond to the rough brass. Cocktail sticks inserted in the ends prevent glue accidently filling the brass tubes and the soft wood is easy to drill out of the harder brass if it gets stuck in there. Later they help with the glassing on of the hull cloth.
|